

You can document real at-home whitening progress using a smartphone, consistent lighting, and a simple checklist. That’s the whole system. Everything else is just making sure those three things don’t vary between sessions.
Quick-start checklist:
- Take a baseline photo before your first treatment
- Use the same angle, distance, and light source every time
- Hold a white card or shade tab near your teeth in every shot
- Brush and blot teeth dry before shooting
- Label each file with the date and treatment stage
Success looks like this: two photos taken weeks apart that are comparable enough to show real shade change, not just different lighting.
Table of Contents
- What equipment do you actually need to take before and after whitening photos?
- Which shots should you take for a reliable comparison?
- When should you take repeat photos during a whitening course?
- Which edits are acceptable and which ones undermine your results?
- Your printable checklist and settings preset
- How to keep your expression and mouth position consistent
- How should you prepare your teeth before taking photos?
- How do you reduce glare and reflections on teeth?
- Key Takeaways
- Why documentation is the honest side of whitening
- Getsmilefam kits are built for the results you’re documenting
- Useful sources and further reading
What equipment do you actually need to take before and after whitening photos?
Modern smartphones are sufficient for consumer-grade before/after documentation. An iPhone 13 or a comparable Android with a decent rear camera handles this well. A DSLR adds nothing unless you’re already comfortable with manual settings.
The accessories that actually matter are low-cost:
- White card or shade tab: A plain white index card works. A shade tab in-frame gives you a fixed color reference that makes side-by-side comparisons far more reliable than eyeballing it.
Optional but useful for close-up intraoral shots: lip retractors (about $5 for a pack) pull the lips back so front teeth are fully visible. A black contrastor card behind the teeth isolates them against a dark background and makes shade differences easier to read. Most at-home users skip these for full-face shots but find them helpful for tight close-ups.
Pro Tip: Mark your standing position on the floor with a small piece of tape. Consistent distance is harder to eyeball than you’d think, and the tape costs nothing.
Which shots should you take for a reliable comparison?
Three views cover everything you need for honest whitening documentation.
| View | Framing | Notes |
|---|---|---|
| Full-face smile | Relaxed, natural smile; ears visible | Shows overall facial context; use portrait orientation |
| Close-up front teeth | Camera level with teeth, lips retracted or pulled back | Best for shade comparison; white card held alongside |
| Side/oblique profile | Same side each session | Captures lateral teeth and smile line |
For the close-up shot, position the camera at 90° to the front teeth, not angled up or down. Tilt changes the apparent shade. Keep the same distance each time by using your phone mount at a fixed position, and use your phone’s grid overlay to align the frame consistently.
A tooth-level close-up (anterior bite view) is worth adding if you want to track a specific tooth. Crop it to the same region every session so the comparison is direct.
Place the white card just below the chin line, angled slightly toward the camera. It stays in frame without blocking the teeth.
When should you take repeat photos during a whitening course?
Whitening is gradual. Day-to-day, you often can’t see the change at all. Baseline photos and scheduled follow-ups create an objective timeline that shows progress you’d otherwise miss entirely.
For a standard two-week at-home whitening course:
| Stage | Timing | Purpose |
|---|---|---|
| Baseline | Before first treatment | Your honest starting point |
| Mid-treatment | Day 7–10 | Catch early progress; adjust if needed |
| End of course | Final treatment day | Primary comparison point |
| Follow-up | 4–6 weeks later | Assess lasting results |
Label every file using the format YYYYMMDD_stage (for example, 20260312_baseline or 20260326_end). This keeps files sorted chronologically and makes the treatment stage immediately obvious when you open the folder months later.
For realistic shade expectations, check how many shades teeth can whiten before you start so your timeline matches what’s achievable.
Which edits are acceptable and which ones undermine your results?
Acceptable: Cropping to a consistent frame, straightening a slightly tilted shot, and minor brightness or contrast adjustments that bring the image closer to what you actually saw. Always keep the original file untouched.
Not acceptable: Digital whitening filters, tooth-smoothing, shape alteration, or any edit that changes the apparent shade. These mislead anyone viewing the comparison, including yourself.
Caption your photos honestly. Write the date, the product used, and the session number directly in the caption or filename. A viewer looking at your before/after should be able to judge the result themselves, not just take your word for it. Responsible sharing means giving people the context to evaluate what they’re seeing.
Caption format example: “March 12, 2026 — Day 1 baseline. March 26, 2026 — Day 14, end of course. SmileFam Snow Serum™ Whitening Pen, used daily.”
One practical note: if you notice unexpected sensitivity or any change in tooth texture during your whitening course, stop and consult a dentist before continuing.
Your printable checklist and settings preset
Before every session:
- Brush teeth and blot dry with a tissue
- Clean camera lens with a microfiber cloth
- Set up ring light at face height, all other room lights off
- Stand on your floor marker, phone in mount
- Lock exposure and focus (tap and hold)
- Confirm white balance is set to daylight or ring light only
- Hold white card just below chin line
Shots to take:
- Full-face relaxed smile (portrait orientation)
- Close-up front teeth with white card in frame
- Side/oblique profile (same side every session)
After shooting:
- Label file:
YYYYMMDD_stage(e.g.,20260312_baseline) - Move to correct subfolder
- Back up to cloud storage
Settings preset (iPhone / Android):
- Beauty/AI filter: OFF
- HDR: OFF
- Lens: 2x zoom or portrait mode
- Exposure: locked, neutral
- White balance: daylight (5000–5500K) or ring light only
- Grid overlay: ON for alignment
Save this as a screenshot in your whitening folder so you can check it at the start of each session.
How to keep your expression and mouth position consistent
The most overlooked variable in before/after photography is the smile itself. A wider smile exposes more teeth and stretches the lips, which changes how the gum line and tooth edges appear. A tighter smile compresses everything. Either way, the shade looks different even when it hasn’t changed.
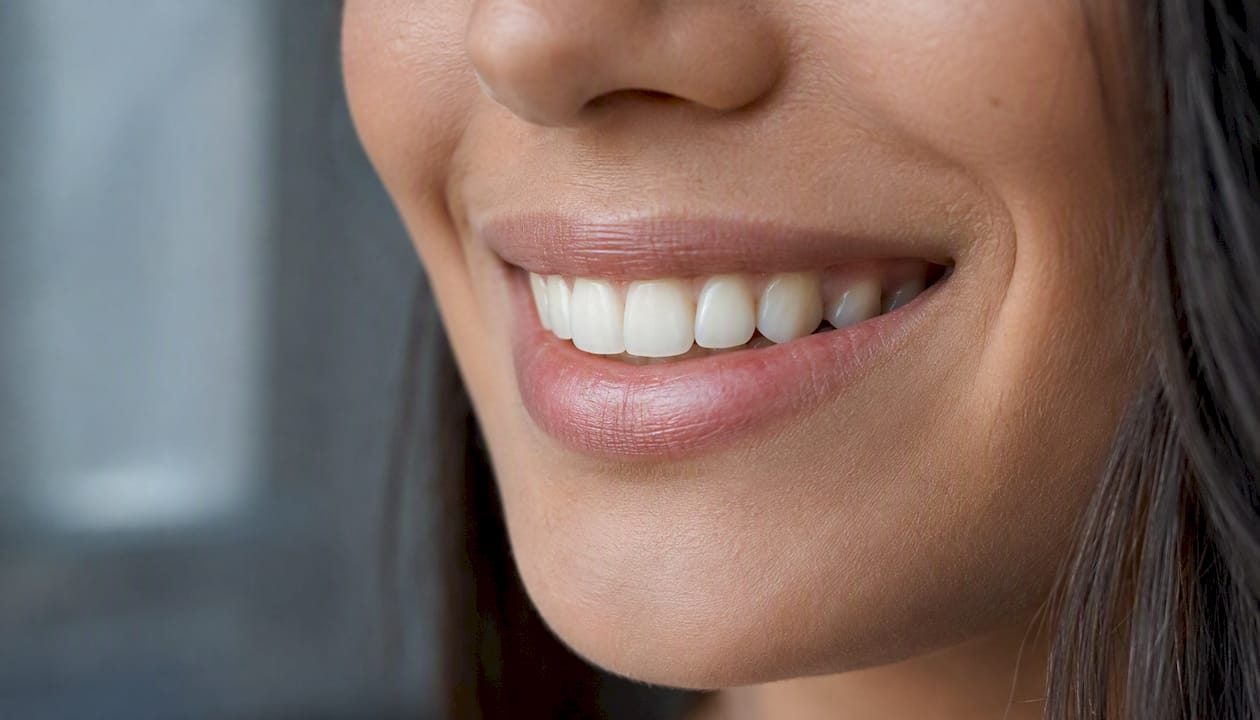
Pick one expression and practice it: a relaxed, natural smile with lips slightly parted and front teeth visible. Not a forced grin, not a closed-mouth smile. Repeat it the same way each session. Some people find it helpful to say a specific word (like “cheese” or “yeah”) to trigger the same muscle position consistently.
For close-up shots, use the same lip retraction method every time. If you use retractors, insert them identically. If you pull your lips back manually, use the same fingers at the same position. The goal is to expose the same surface area of tooth in every photo.
How should you prepare your teeth before taking photos?
Clean the lens and prepare teeth before shooting to avoid glare, blur, and misleading reflections. Brush your teeth about 30 minutes before the session, not immediately before. Brushing right before can cause temporary gum redness and slight surface changes that don’t reflect your normal baseline.
After brushing, blot the front surfaces of your teeth lightly with a dry tissue. Wet teeth reflect more light and create bright spots that can make them look whiter than they are. Dry surfaces show true shade more accurately.
Avoid coffee, tea, or anything that stains in the hour before your photo session. For a practical prep routine before whitening treatment, Getsmilefam has a detailed guide worth bookmarking alongside this one.
How do you reduce glare and reflections on teeth?
Glare is the enemy of accurate shade documentation. A bright reflection on a front tooth can make it look two shades lighter than it actually is, which ruins the comparison.
The main fix is light placement. Position your ring light or LED panel at face height and slightly in front of you, not above. Overhead light creates the worst glare because it hits the curved surface of the front teeth directly. A ring light centered at eye level produces more even illumination with softer reflections.
A dedicated photo spot with consistent positioning reduces variation from session to session. Once you find a position that minimizes glare, mark it and don’t move.
If you still see a bright hot spot on a specific tooth, try angling the light source two or three degrees to the side. A small shift in angle changes where the reflection lands without affecting overall exposure. Matte surfaces reflect less than wet ones, which is another reason to blot teeth dry before shooting.
Key Takeaways
Consistent lighting, a white reference card, and labeled files are the three variables that determine whether your before/after photos are actually comparable.
| Point | Details |
|---|---|
| Baseline photo first | Take a baseline shot before any treatment so you have an honest starting point. |
| Lock settings every session | Disable HDR and beauty filters, lock exposure, and use 2x zoom to prevent color drift. |
| White card in every frame | A white card or shade tab gives you a fixed color reference that makes comparisons reliable. |
| Label files immediately | Use the format YYYYMMDD_stage so photos stay organized and easy to find months later. |
| Getsmilefam Snow Serum™ Pen | The Snow Serum™ Whitening Pen pairs directly with this workflow for trackable, session-by-session results. |
Why documentation is the honest side of whitening
Most people skip the before photo. They start their whitening kit, see results after two weeks, and have nothing to compare against except memory, which is unreliable. Memory adjusts. Photos don’t.
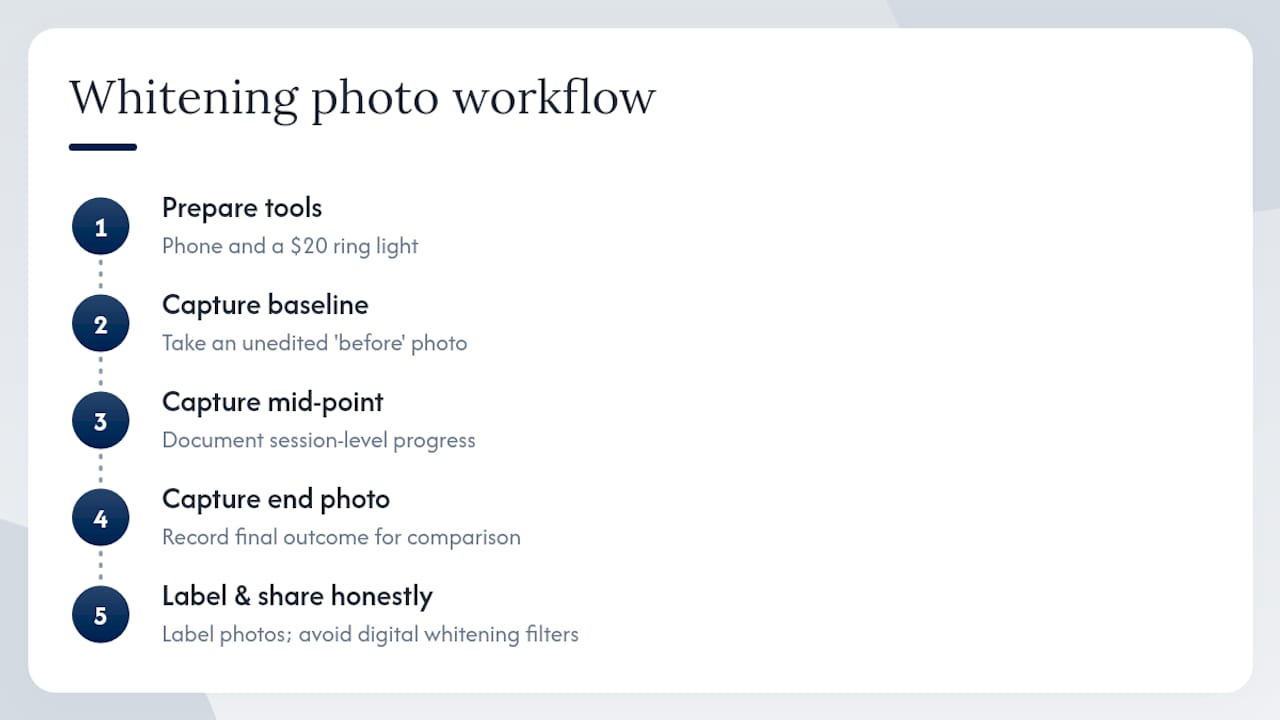
What strikes me about the at-home whitening category is how much the documentation habit changes the experience. When you have a baseline, a mid-point, and an end photo, you’re not guessing whether something worked. You’re looking at evidence. That shift from “I think it worked” to “I can see it worked” is genuinely different, and it’s available to anyone with a phone and a $20 ring light.
The other thing worth saying: honest documentation protects you. If you share results publicly and they’re real, unedited, and labeled, they hold up. If you’ve run a digital whitening filter over them, you already know they don’t. The credibility gap between those two things is obvious to anyone who looks closely.
Getsmilefam’s approach with BLU Whitening Technology is built around visible, session-level results. That’s exactly the kind of progress a structured photo workflow is designed to capture. The Snow Serum™ Whitening Pen is a daily-use product, which means the timeline in this guide maps directly onto how you’d actually use it.
Getsmilefam kits are built for the results you’re documenting
If you’re setting up a photo workflow, you want a whitening product that actually gives you something to photograph. The SmileFam Premium Travel Kit is compact enough to use consistently at home or while traveling, and the Snow Serum™ Whitening Pen applies directly to teeth for session-by-session use that maps cleanly onto the photo cadence in this guide.
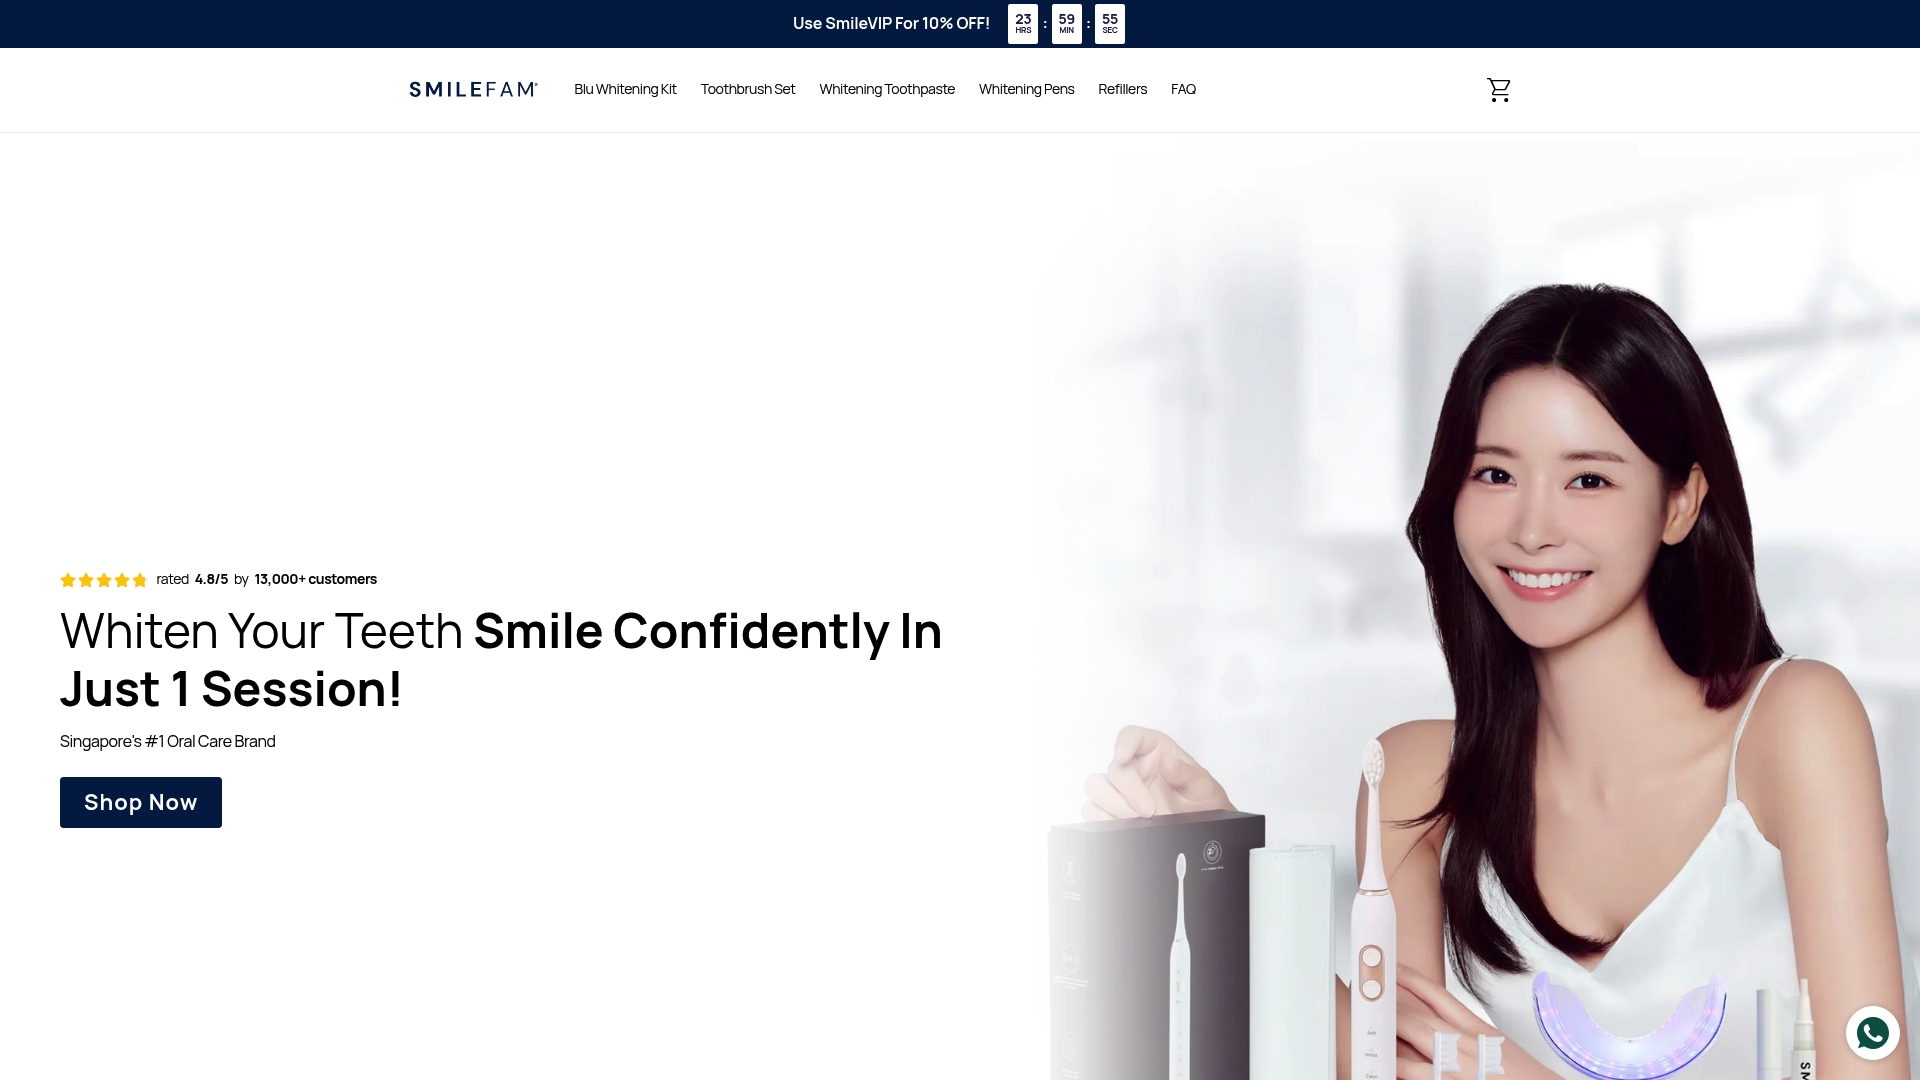
Getsmilefam uses BLU Whitening Technology with enamel-safe, hydrogen-peroxide-free formulas designed for sensitive gums. The results are visible quickly, which means your mid-treatment photo at day 7 is likely to show real change, not just noise. For safe at-home whitening guidance, the teeth whitening best practices guide covers sensitivity precautions and usage instructions in detail. Browse the full kit lineup at getsmilefam.com and pick the option that fits your schedule.
Useful sources and further reading
| Resource | What it covers |
|---|---|
| StyleItaliano: Track home bleaching journey | Baseline and follow-up photo protocols for whitening documentation |
| StyleItaliano: Mobile dental photography | Shade assessment with auxiliary lighting and standardized setups |
| Balsam Medico: Camera settings guide | Manual settings, white balance, and laminated settings sheet approach |
| Pixiodoc: Professional before/after photos | Floor markers, fixed spots, and daylight-balanced lighting |
| Dentiphoto: Smartphone accessories | White cards, retractors, and contrastors for consumer use |
| Getaron.ai: Before/after photo guide | Smartphone sufficiency and consumer documentation workflow |
| MeetDandy: Intraoral photography | Lens cleaning, tooth prep, and glare reduction |
| Remedo: Capturing before/after photos | File labeling, originals, and responsible sharing |
| Stop Oral Care: Safe at-home whitening | Safety protocols and step-by-step home whitening guidance |
| SmileFam: At-home whitening results | Real consumer before/after examples using SmileFam products |