

A teeth whitening checklist before starting is the single most effective way to protect your enamel, minimize sensitivity, and get results that actually last. Most people skip the preparation phase and go straight to the product, which is exactly why so many end up with patchy results or sore gums. The standard industry term for this process is pre-whitening assessment, and it covers everything from dental health screening to product selection and post-treatment care. This guide walks you through every step, so you whiten smarter, not harder.
1. Why a pre-whitening checklist is your first line of defense
Preparation separates a successful whitening treatment from a painful one. A teeth whitening checklist before starting addresses the oral health factors, product variables, and timing decisions that determine whether your results are even, lasting, and comfortable. Skipping any item on the checklist does not save time. It creates problems that take longer to fix than the whitening itself.
2. Get a professional dental exam first
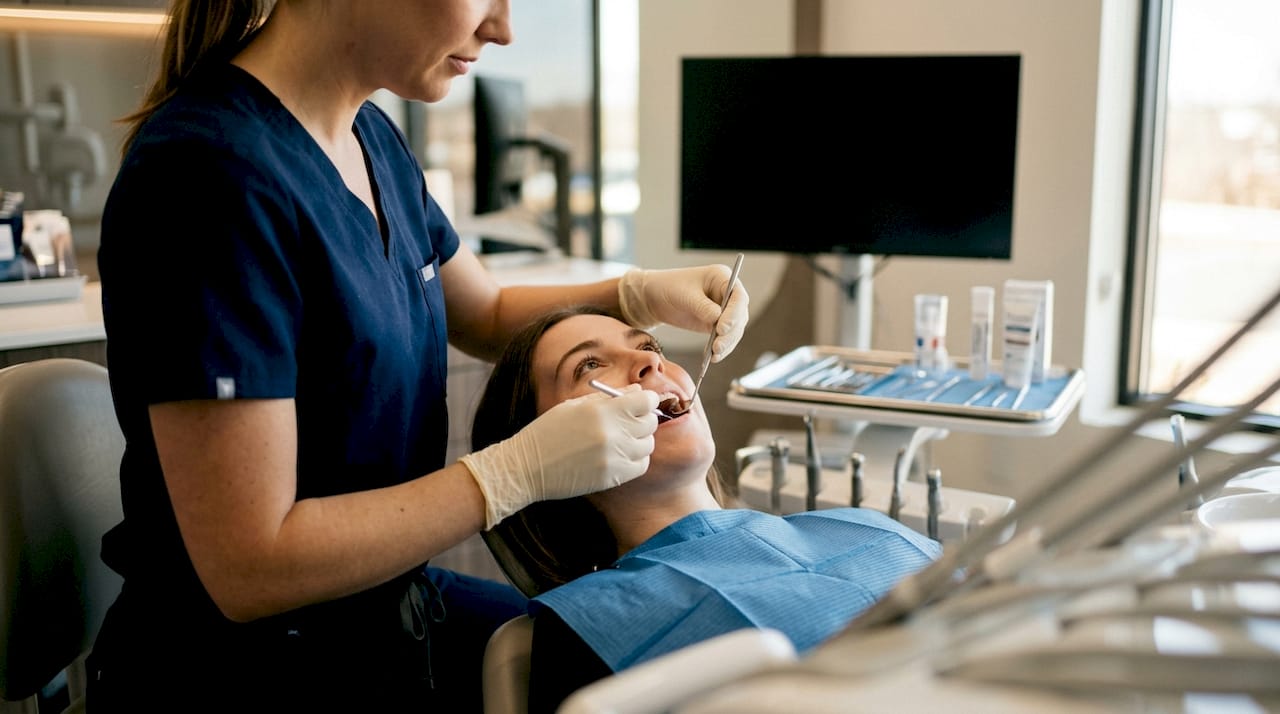
A dental exam before whitening within six months of treatment checks for untreated cavities, gum disease, and cracked teeth. Whitening agents penetrate damaged enamel and reach the nerve, causing sharp pain that no desensitizer can fix after the fact. A dentist also identifies existing restorations like crowns and veneers, which do not respond to whitening agents.
Professional cleaning removes plaque and tartar that physically block whitening gel from reaching the tooth surface. Without cleaning, you get uneven whitening where buildup was present. The exam also confirms your stain type. Intrinsic stains from medications or trauma respond differently than extrinsic stains from coffee or wine, and your dentist can tell you which category applies to you.
- Check for cavities, cracks, and exposed roots before any whitening treatment
- Confirm gum health and rule out active periodontal disease
- Ask your dentist to assess existing crowns, veneers, or bonding
- Get a professional cleaning within two weeks of starting whitening
Pro Tip: Ask your dentist to photograph your current shade against a standard shade guide. That baseline photo gives you an objective measure of progress and prevents you from chasing an unrealistic target.
3. Managing sensitivity and gum health before you begin
Sensitivity is the most common side effect of whitening treatments, and it typically resolves within a few days after pausing or completing treatment. The good news is that you can reduce it significantly before you ever open a whitening product. Using desensitizing agents like potassium nitrate or sodium fluoride for two weeks before treatment reduces tooth sensitivity without compromising whitening results.
Gum health matters just as much as tooth health. Inflamed or receding gums expose root surfaces that have no enamel, making them extremely vulnerable to whitening gel. Treat any gum issues before starting, and protect soft tissue during treatment with a proper barrier or well-fitted tray.
- Use a potassium nitrate or sodium fluoride toothpaste for two weeks before starting
- Switch to a soft-bristle toothbrush and gentle brushing technique
- Avoid acidic foods and drinks in the 48 hours before your first session
- Do not brush immediately before or after whitening. Wait at least 30 minutes to protect temporarily porous enamel
Pro Tip: Apply a thin layer of vitamin E oil or a dentist-recommended gum barrier along your gumline before each whitening session. It takes 30 seconds and significantly cuts down on gum irritation.
4. Choosing the right whitening product for your situation
Whitening products fall into four main categories: in-office treatments, custom tray systems, over-the-counter strips and gels, and whitening toothpastes. Each works differently and carries different sensitivity risks.
| Method | Peroxide Level | Best For | Sensitivity Risk |
|---|---|---|---|
| In-office treatment | High (up to 35%) | Fast, dramatic results | Higher |
| Custom tray system | Moderate (10–22%) | Gradual, controlled whitening | Moderate |
| OTC strips and gels | Low to moderate (6–14%) | Maintenance and mild staining | Low to moderate |
| Whitening toothpaste | Minimal or none | Daily maintenance | Very low |
Research shows that moderate peroxide concentrations of 25–35% deliver comparable whitening results with less sensitivity than higher concentrations. That finding challenges the assumption that stronger always means better. Light activation systems like LED or laser do not significantly improve whitening efficacy and may increase sensitivity risk.
Crowns and veneers do not whiten during treatment, which can create a mismatched appearance after whitening your natural teeth. Factor in any existing dental work before choosing a product or shade target. You may need restoration replacement after whitening to match your new tooth color.
- Match product strength to your sensitivity level and stain type
- Use custom-fitted trays to prevent gel from leaking onto gums
- Follow manufacturer instructions exactly. Do not extend application time
- Avoid any product that lacks clear ingredient labeling or professional endorsement
5. Setting realistic expectations before you start
Whitening targets a natural shade improvement, not a chemically bleached white. Overuse and longer application times do not increase whitening results. They increase sensitivity and risk of enamel damage. Understanding how many shades your teeth can realistically whiten helps you set a goal that is achievable and safe.
The shade you reach depends on your natural tooth color, the type of staining, your age, and your existing dental work. Younger teeth with extrinsic staining from coffee or tea respond best. Older teeth or those with intrinsic staining from tetracycline antibiotics respond more slowly and less dramatically.
Post-whitening maintenance is what keeps results lasting. Teeth are temporarily porous after treatment, making them highly susceptible to restaining. Avoid dark-colored foods and drinks like coffee, red wine, and tomato sauce for at least 48 hours after each session.
- Avoid coffee, tea, red wine, and tobacco for 48 hours after whitening
- Use a whitening toothpaste for daily maintenance between treatment cycles
- Plan touch-up sessions every three to six months based on your habits
- Stop treatment and contact your dentist if you experience persistent pain or gum burns
6. Common mistakes that sabotage your results
Most whitening failures trace back to a short list of avoidable errors. Knowing them in advance is the most practical part of any preparation guide.
- Brushing immediately before or after whitening. Enamel becomes temporarily porous after whitening. Brushing during that window abrades the softened surface and increases staining risk.
- Using lemon juice and baking soda as a DIY remedy. Lemon juice and baking soda cause enamel erosion by softening then abrading the surface. Teeth appear darker over time, not lighter.
- Extending application time to boost results. More time does not mean more whitening. It means more sensitivity and a higher chance of gum irritation.
- Ignoring existing dental problems. Whitening over an untreated cavity or cracked tooth causes sharp, lasting pain. Fix oral health issues first.
- Using poorly fitting trays. Ill-fitting trays allow gel to pool on gum tissue, causing chemical burns and irritation. Custom trays or proper barriers prevent this.
- Skipping the dental consultation. Self-diagnosing your stain type and choosing a product without professional input leads to mismatched results and wasted money.
Key Takeaways
A complete pre-whitening assessment covering dental health, product selection, and sensitivity management is the most reliable path to safe, even, and lasting whitening results.
| Point | Details |
|---|---|
| Dental exam first | Check for cavities, gum disease, and restorations before any whitening product touches your teeth. |
| Desensitize in advance | Use potassium nitrate or sodium fluoride toothpaste for two weeks before starting to reduce sensitivity. |
| Match product to your needs | Choose peroxide concentration and delivery method based on your stain type and sensitivity level. |
| Avoid DIY remedies | Lemon juice and baking soda erode enamel and worsen discoloration over time. |
| Maintain after treatment | Avoid staining foods for 48 hours post-session and plan touch-ups every three to six months. |
Whitening is a dental decision, not just a beauty purchase
I have seen a lot of people treat teeth whitening the way they treat buying a new face wash. They pick a product based on the packaging, use it more than directed because they want faster results, and then wonder why their teeth ache or their gums look raw. Whitening is a planned dental decision, and the preparation phase is where most of the real work happens.
The checklist approach changed how I think about this category entirely. When you go through each step, from the dental exam to the desensitizing protocol to the product match, you stop chasing a number on a shade guide and start making choices that fit your actual oral health. That shift matters. I have found that people who prepare properly are also the ones who maintain their results longest, because they understand what they are working with.
The one thing I would add that most guides skip: be honest about your habits. If you drink three cups of coffee a day and do not plan to change that, your maintenance schedule needs to reflect it. Whitening is not a one-time fix. It is an ongoing practice, and the checklist is what keeps it safe and effective over time.
— Lenney
Getsmilefam products built for safe, prepared whitening
Getsmilefam designs its whitening products around the same principles this checklist covers: enamel safety, sensitivity management, and real results without harsh chemicals. The BLU Teeth Whitening Kit uses BLU Whitening Technology developed in Singapore, with lab-approved, hydrogen-peroxide-free formulas suitable for sensitive gums. For daily maintenance between sessions, the BLU Whitening Toothpaste supports enamel health while keeping your shade consistent. Both products integrate directly into the preparation and maintenance steps covered in this guide, so you are not starting from scratch. You are building on a plan that already works.
FAQ
What should I do before starting teeth whitening?
Get a professional dental exam and cleaning, treat any cavities or gum issues, and use a desensitizing toothpaste for two weeks before your first session. This preparation reduces sensitivity and produces more even results.
How long before whitening should I use desensitizing toothpaste?
Start using a potassium nitrate or sodium fluoride toothpaste at least two weeks before treatment. Research confirms this reduces sensitivity without reducing whitening effectiveness.
Can I whiten my teeth if I have crowns or veneers?
Whitening agents do not change the color of crowns, veneers, or bonding. Whitening only your natural teeth can create a mismatched appearance, so discuss existing restorations with your dentist before starting.
How soon after whitening can I brush my teeth?
Wait at least 30 minutes after whitening before brushing. Enamel is temporarily porous after treatment, and brushing too soon can abrade the surface and increase staining risk.
When should I stop a whitening treatment?
Stop treatment immediately and contact your dentist if you experience persistent pain, gum burns, or sensitivity that does not resolve within a few days. These signs may indicate an underlying oral health issue that needs treatment first.