

Yes, you can travel with a teeth-whitening kit. Pack any gel or serum in containers of 100 ml or less inside your carry-on liquids bag, and store trays or pens in a hard protective case away from heat. Follow those two rules and a whitening routine survives a flight, a beach trip, or a two-week work stint just fine.
TL;DR:
- Keep whitening gels and trays in containers under 100 ml and store them properly to prevent damage from heat or light during travel.
- Use insulated pouches or mini fridges to maintain gel efficacy, and avoid hot cargo holds or direct sunlight that can degrade peroxide-based products.
- Consult your dentist before traveling if you are mid-course, and stop whitening immediately if you experience pain or tray damage.
- Pack a minimal, compliant kit containing pens, syringes, a tray in a protective case, and essential oral care items for trips up to two weeks.
- Manage sensitive teeth by adjusting routines or pausing treatment when traveling in hot or dry conditions, and seek professional advice if issues arise.
Table of Contents
- Travel With Whitening Kit Rules: What Airport Security Expects
- How to Store Whitening Gel and Trays So Heat Doesn’t Ruin Them
- Should You Keep Whitening While Traveling, or Pause It?
- Travel Whitening Kit Checklist: What to Actually Pack
- When to Stop Whitening and Call a Dentist
- Common Travel Whitening Mistakes and Quick Fixes
- A Travel-Ready Kit Built for These Exact Rules
- Sources
Travel With Whitening Kit Rules: What Airport Security Expects
Whitening gel counts as a liquid in the eyes of airport security, no different from sunscreen or contact lens solution. That means every syringe, pen, or tube needs to fit the same 100 ml per container limit that applies to all carry-on liquids and gels, and it all has to fit into one transparent, resealable bag no bigger than a liter.
Most retail whitening pens and travel-size syringes are already built to this spec, so you rarely need to decant anything. Keep products in their original packaging when you can. If you’re mid-course on a professional treatment prescribed by a dentist, carrying a brief note from them removes any awkward back-and-forth at the screening line.
A few habits make the checkpoint painless:
- Put every gel container, pen, and syringe inside the clear liquids bag, not loose in your carry-on.
- Declare the products if a screening officer asks. There’s nothing to hide, and it speeds things along.
- Keep trays in your carry-on rather than checked baggage. Checked holds swing in temperature, and a cracked hard case is a bad way to start a trip.
How to Store Whitening Gel and Trays So Heat Doesn’t Ruin Them
Peroxide-based whitening gels break down faster when they sit in heat or direct light. A gel that spent an afternoon in a sun-baked car or a suitcase on a tarmac won’t perform the way it did in the tube. That’s the single biggest difference between whitening at home and whitening kit for travel use: you’re now managing an ingredient that degrades with mishandling.
A minibar fridge in your hotel room is the easiest fix. No fridge? An insulated pouch with a small cold pack, kept away from direct contact with the gel itself, does the job for most short trips. Avoid packing gel in a suitcase that’ll sit in a hot cargo hold or a car trunk, and never rinse trays with hot water. Heat is exactly what warps the plastic and shortens the tray’s life.
A short routine keeps everything intact:
- Store gel upright, never on its side, to stop leaks at the cap.
- Rinse trays with cool water and air-dry before returning them to the case.
- Skip direct sunlight entirely. A windowsill or beach bag is the worst place for a syringe.
Pro Tip: Freeze a small gel pack the night before you fly, wrap it in a hand towel, and tuck it against your insulated pouch. It’ll stay cold through security and most of a short haul flight without ever touching the gel container.
Should You Keep Whitening While Traveling, or Pause It?
Long-haul travel throws off more than your sleep schedule. Dry cabin air, dehydration, and irregular meals all make teeth more reactive, so a whitening session that felt mild at home can sting more mid-trip.
- If you’re mid-course, check with your dentist before you leave. They may say to finish the last few sessions, stretch out the schedule, or pause until you’re home. Getting that guidance before travel beats guessing at 30,000 feet.
- If sensitivity shows up, switch to a desensitizing toothpaste for a few days, shorten your whitening sessions, or skip a day. Stop entirely if you notice sharp pain or gum soreness rather than the usual mild tingle.
- If you’re using an LED whitening device, stick to the manufacturer’s recommended timing. Don’t stack extra sessions to “catch up” after a missed day, especially when you’re running on poor sleep and low water intake. Both make gums more reactive to peroxide.
Travel Whitening Kit Checklist: What to Actually Pack
A good travel kit is smaller than most people assume. The goal is compliance with the 100 ml rule and enough product for the trip, not a full bathroom cabinet.
- Whitening pens or gel syringes, each under 100 ml, in original packaging
- Tray stored in its hard protective case, not loose in a toiletry bag
- Travel-size toothbrush and whitening toothpaste
- Desensitizing toothpaste as backup
- Floss
- Small insulated pouch for gel
For a long weekend, one pen or a single small syringe covers you. For a one to two week trip, pack roughly what the schedule calls for rather than a spare of everything. Anything longer than that, plan to source fresh product at your destination instead of over-packing gel that might degrade before you use it. A labeled zip bag for syringes and a spare tray case round things out.
When to Stop Whitening and Call a Dentist
Stop immediately for sharp pain, gum soreness that doesn’t fade, or a tray that cracks or warps. A cracked tray isn’t a DIY fix. Taping or gluing it risks uneven gel exposure and gum irritation, and there’s no safe workaround for a damaged tray away from home.
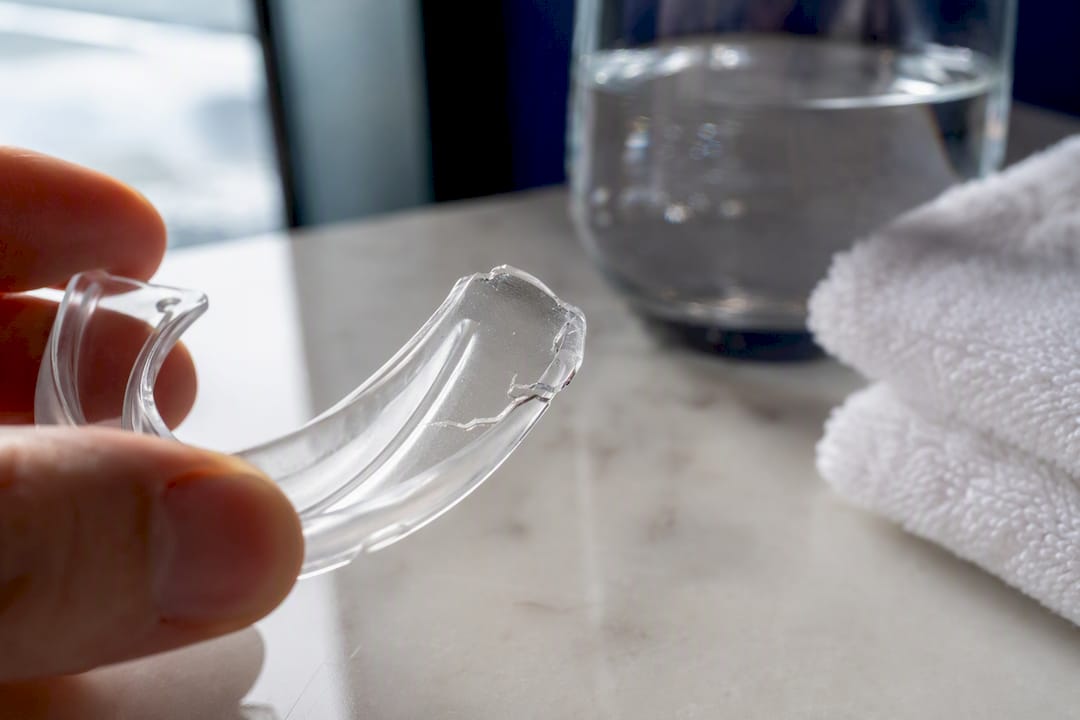
If you’re uncertain whether to continue a course through a long or hot-weather trip, get your dentist’s input before you leave rather than mid-trip. That single conversation settles most of the packing and scheduling questions that come up once you’re already at the airport.
Common Travel Whitening Mistakes and Quick Fixes
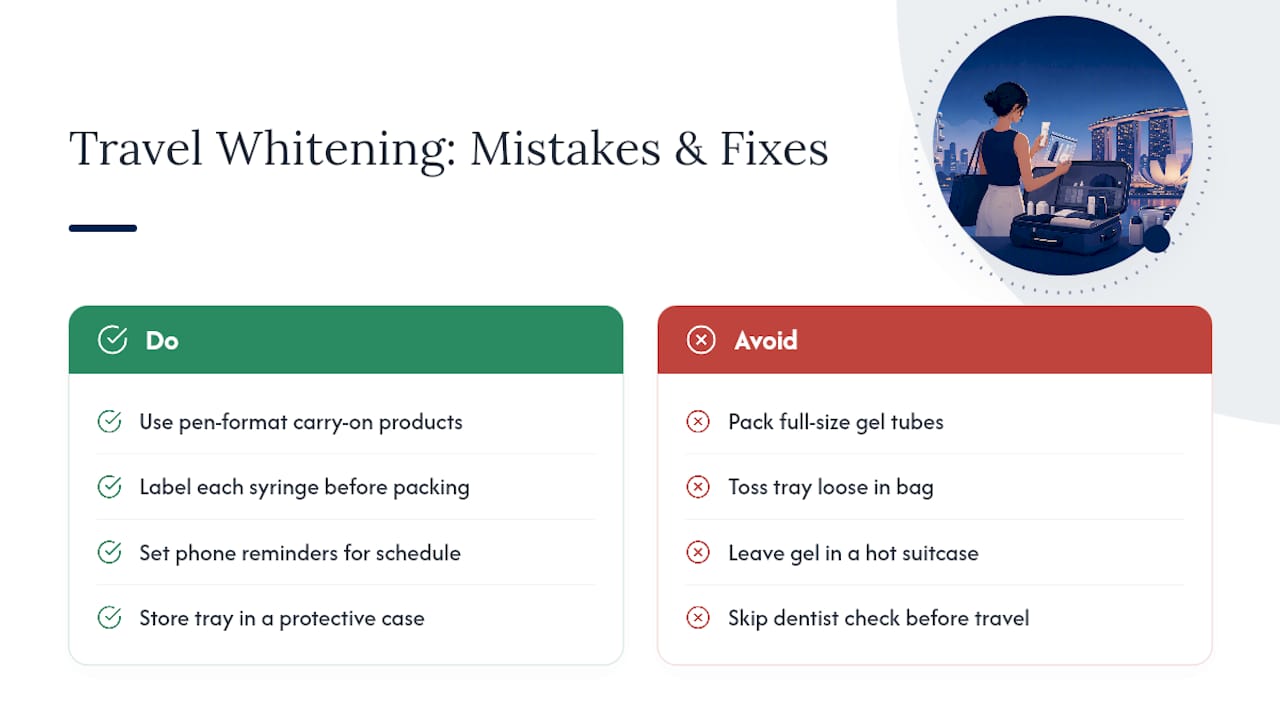
The mistakes I see repeated most often aren’t dramatic. They’re small oversights: a tray tossed loose into a toiletry bag until it warps, a full-size gel tube packed instead of a travel pen, or gel left in a hot suitcase because refrigeration felt like overkill for a weekend trip. Skipping a dentist check before traveling mid-course is the costliest one, because it turns a five-minute conversation at home into a guessing game abroad.
The fixes are just as unglamorous. Use pen-format products built for carry-on limits. Label every syringe so you’re not hunting through a bag at security. Set a phone reminder for your whitening schedule since time zones scramble routine faster than people expect. Store the tray in a case every single time, not “just for the flight.” None of this requires expertise, just consistency. Readers managing sensitivity after a course should also look at how to maintain results once you’re home, since travel habits and maintenance habits overlap more than people assume.
— Lenney
A Travel-Ready Kit Built for These Exact Rules
Getsmilefam built the Premium Travel Kit around the same packing and storage constraints covered above, not as an afterthought. The pen format keeps everything under the 100 ml carry-on threshold without repackaging anything, and the peroxide-free, enamel-safe formula behind SmileFam’s BLU Whitening Technology means less sensitivity risk on a trip already stacked with dehydration and disrupted sleep.
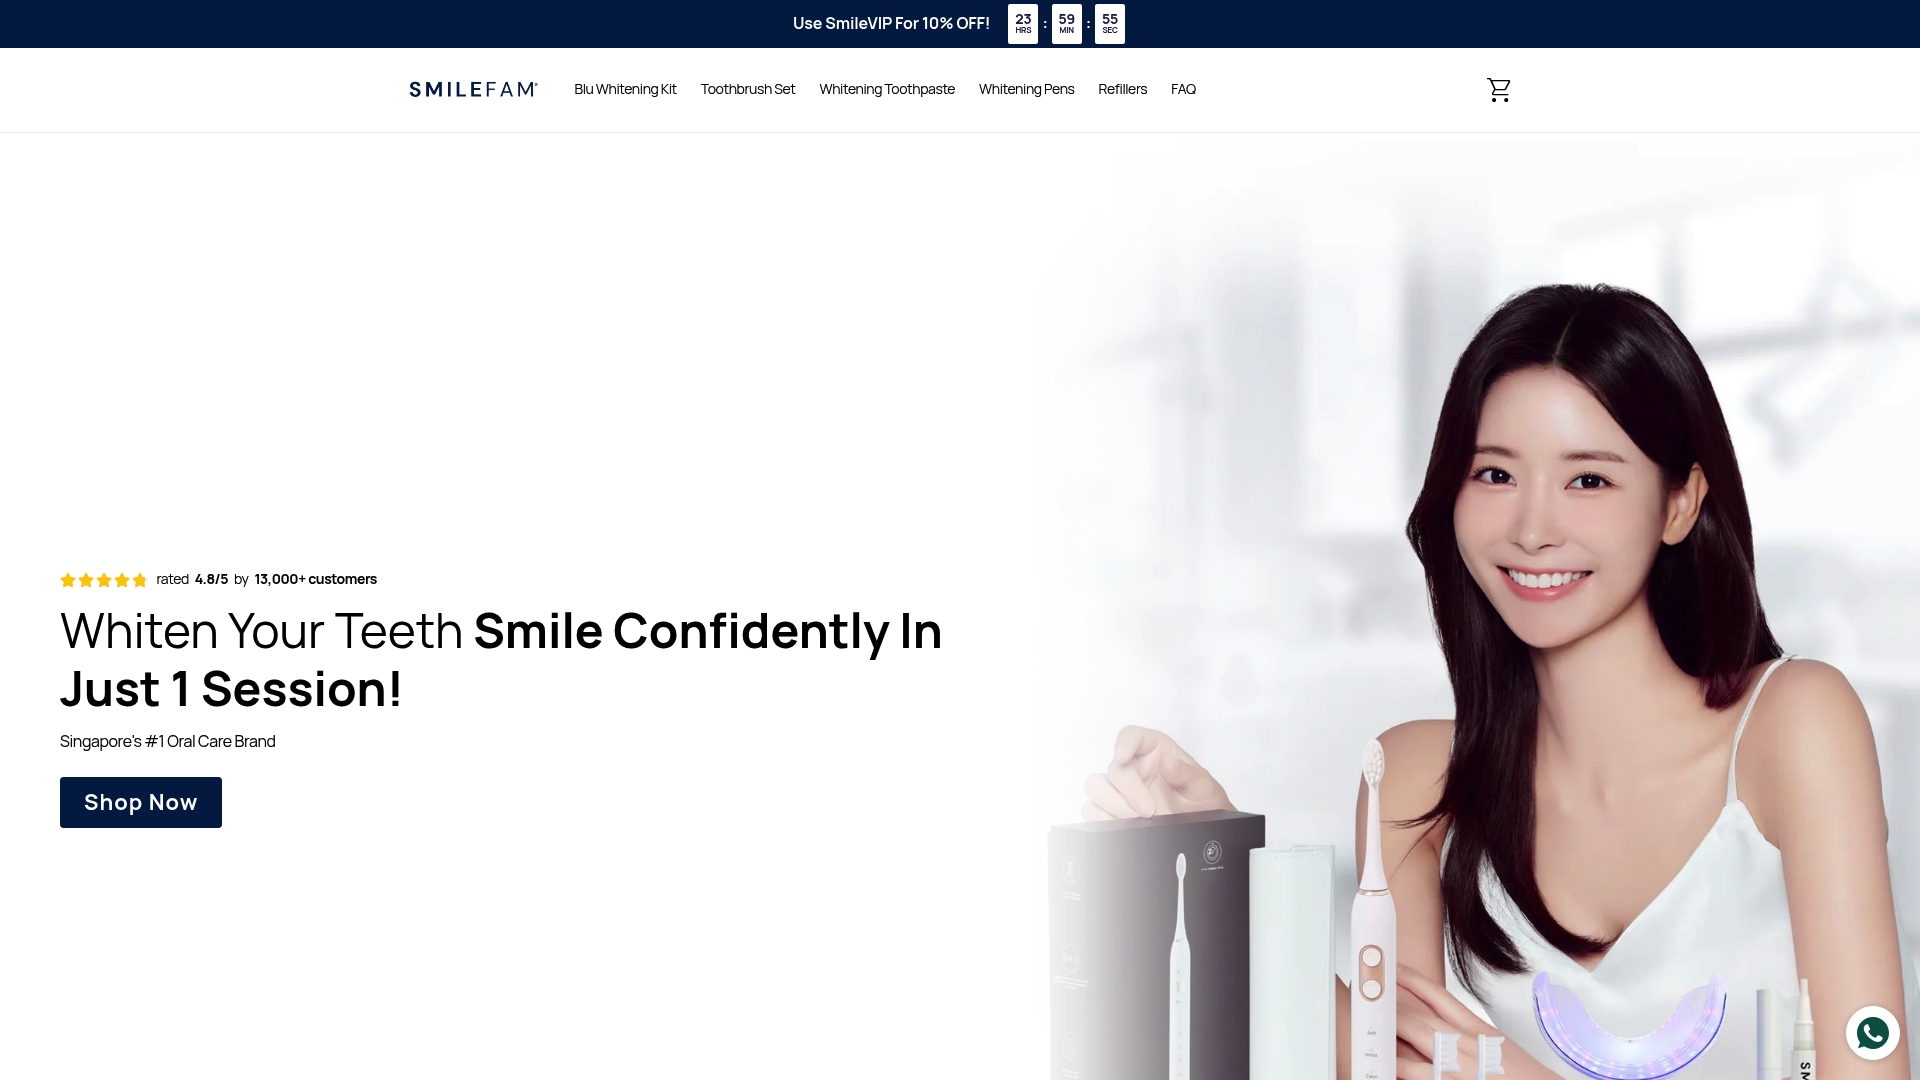
The kit ships with a protective case for the tray, so you’re not solving the “how do I keep this from warping” problem with a spare sock or a plastic bag. If you travel often and want a compact case that also organizes the rest of your liquids, a carry-on packing guide pairs well with it. Check the Premium Travel Kit’s current sizing and pricing on the Getsmilefam product page before your next trip and pack once, correctly.
Sources
- Civil Aviation Authority guidance — liquids and gels (Singapore)
- Travel toothbrushes & whitening: how to keep your teeth clean & white while traveling (Colgate)