

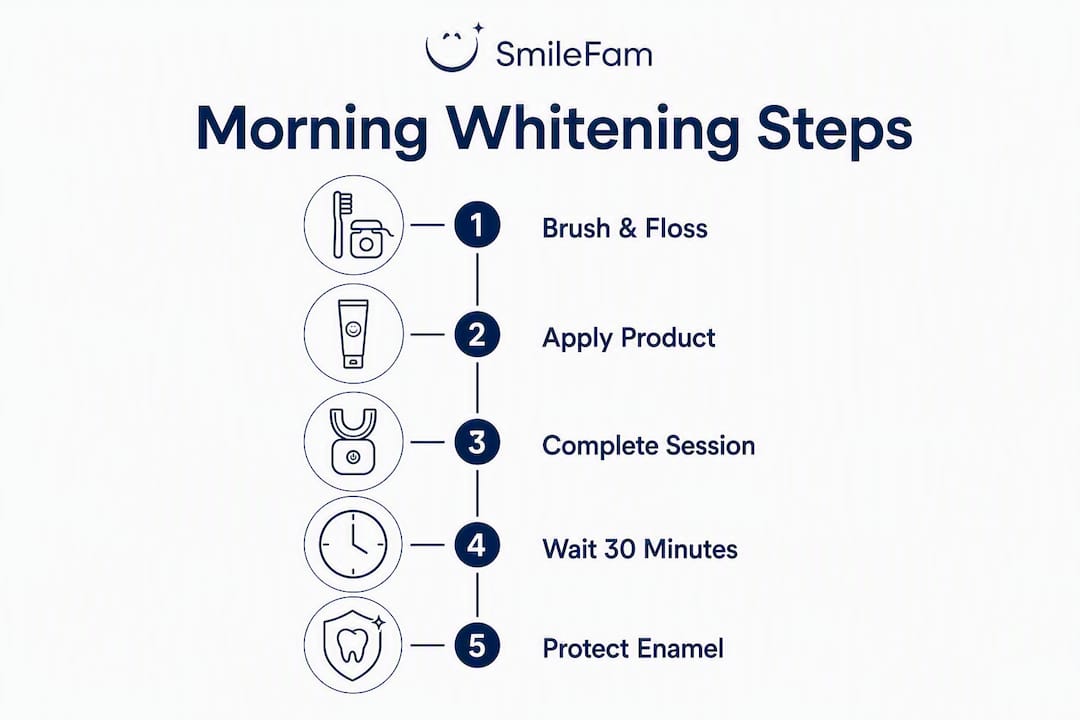
The most effective teeth whitening morning routine setup is simple: brush and floss first, apply your chosen whitening product, complete your session, then wait at least 30 minutes before eating or drinking anything colored. That sequence, repeated consistently, is what actually moves the needle on shade.
- Ideal timing: Start whitening right after brushing, while you shower or make coffee. A short window that fits most mornings without adding stress works well.
- Best morning product types: Whitening pens (quick-dry, no tray needed) and daytime tray formulations designed for 30–90 minute wear are the most practical for morning use.
- Safety reminder: The American Dental Association is clear that peroxide-based products whiten only natural teeth. Crowns, veneers, and bonding won’t respond. If you have restorations or active gum issues, consult your dentist before starting.
Before your first session, run through the teeth whitening checklist to confirm you’re ready to go.
Table of Contents
- How do you build a morning teeth whitening routine?
- How do you set up and apply at-home whitening products?
- How long should sessions be, and when will you see results?
- How do you prevent and manage whitening sensitivity?
- What should you do after a morning whitening session?
- How should you store gels, pens, trays, and LED devices?
- Is morning whitening actually effective? What the evidence says
- Key Takeaways
- The part nobody tells you about morning whitening
- Getsmilefam’s morning-ready whitening option
- Useful sources
How do you build a morning teeth whitening routine?
A reliable routine needs a fixed sequence, not just good intentions. Here’s a time-budgeted version that works for most adults:
- 0:00 — Wake up. Drink a glass of water. Hydrated teeth respond better to whitening agents.
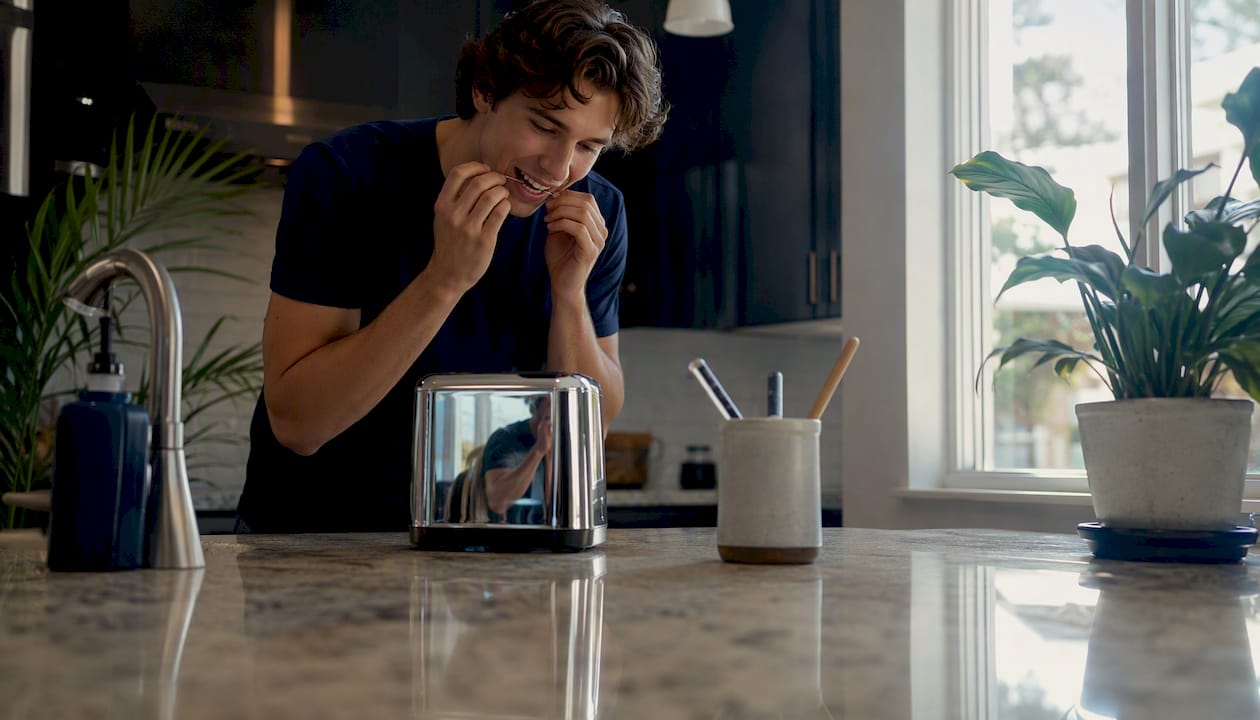
- 0:05 — Brush and floss. Brushing before whitening removes plaque that would otherwise block the whitening agent from reaching enamel evenly. Floss to clear debris from between teeth.
- 0:10 — Apply your whitening product. See the product-specific steps in the next section. This is where your session clock starts.
- 0:10–0:40 — Wear time. Duration depends on your product. Use this window for your shower, getting dressed, or making breakfast (just don’t eat yet).
- Post-session — Rinse and clean. Remove trays or wipe the pen residue, rinse with water, and clean your device.
- +30 minutes — Eat and drink. Teeth are temporarily more porous right after whitening, so waiting 30 minutes before consuming anything colored reduces immediate re-staining.
Anchor the habit. Attaching whitening to something you already do, like running the coffee maker or stepping into the shower, is what makes the routine stick. Consistency matters more than picking the “perfect” clock time.
| Product type | Recommended morning wear time | Notes |
|---|---|---|
| Whitening pen | 1–2 minutes application; no removal needed | Quick-dry formula; ideal for rushed mornings |
| Daytime tray (DayWhite-style) | 30–90 minutes | Designed for shorter daytime windows |
| Whitening strips | 30 minutes | Avoid eating or drinking during wear |
| LED device + gel | Per manufacturer (typically 10 minutes) | Pair with tray session |
Pro Tip: If you need coffee within 30 minutes of finishing, drink it through a straw. It won’t eliminate staining risk entirely, but it reduces direct contact with freshly whitened enamel.
Always follow the manufacturer’s stated timing. Wearing trays longer than directed increases sensitivity without accelerating results. If you have restorations or gum disease, get a dentist’s clearance first.
How do you set up and apply at-home whitening products?
Getting the application right is where most people go wrong. Too much gel, poor strip alignment, or skipping the pre-clean all reduce effectiveness and raise irritation risk.
Snow Serum™ Whitening Pen
- Twist the base until gel appears at the brush tip.
- Apply with 2–3 passes per tooth, working across the front surface in a thin, even layer.
- Let it dry for 60 seconds before closing your mouth. No rinsing needed.
- Store upright, cap on, away from direct heat.
Custom trays
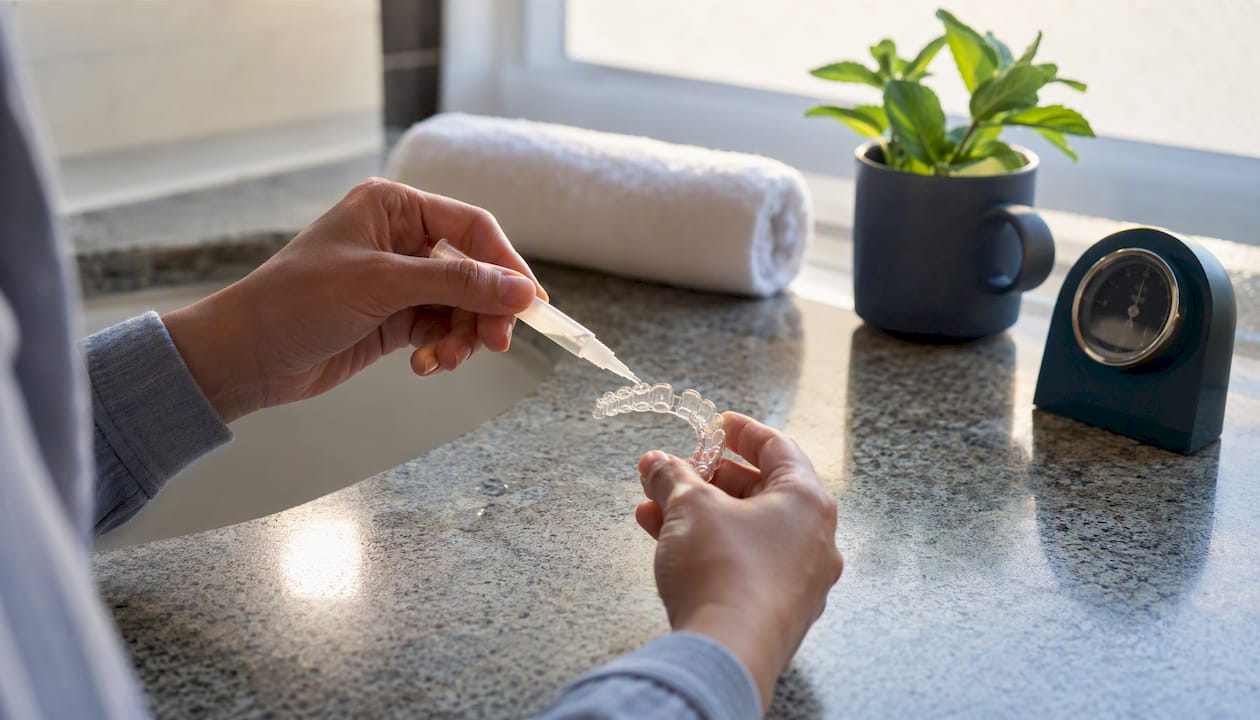
Use a small teardrop of gel per tooth pocket — not a full line. Overfilling is the most common mistake; excess gel contacts gums and causes irritation. Proper tray dosing means a pea-sized amount per tooth impression, no more. After your session, rinse trays with cool water and a soft brush. Never use hot water — it warps the tray.
Whitening strips
Align the strip to your gum line, not above it. Press firmly from the center outward to remove air pockets. Fold the excess behind your teeth. Remove after the directed time and wipe away any residue with a clean finger.
LED devices
Pair the LED light with a gel tray per the device instructions. The light activates the gel, so timing starts when both are in place. Don’t extend the session beyond the manufacturer’s window.
The ADA notes that whitening products affect only natural tooth structure. Veneers, crowns, and bonding will not change shade, and using peroxide products on them can cause uneven results. If any of your visible front teeth have restorations, consult your dentist before starting a whitening course.
Getsmilefam’s BLU Whitening Technology and the Premium Travel Kit are built for exactly this kind of morning setup: the pen applies in under two minutes, the compact tray fits in a toiletry bag, and the enamel-safe formula skips harsh peroxide. For gum-safe application tips, the Getsmilefam blog covers the specifics in detail.
How long should sessions be, and when will you see results?
Session length and frequency depend on your product’s formulation, not on how motivated you are. More is not faster.
| Timeline | What to expect |
|---|---|
| First week | Mild brightening; surface stains begin to lift |
| Weeks 2–3 | Noticeable shade change; intrinsic staining starts to respond |
| Week 4+ | Near-peak results for most at-home systems; diminishing returns after this point |
| Maintenance phase | Monthly touch-up sessions or as you notice fading |
Practical frequency rules:
- Most at-home daytime products are designed for daily sessions over a 1–2 week course, then a break.
- Twice-daily use is rarely necessary and raises sensitivity risk without proportional benefit.
- Once you hit your target shade, monthly 10–15 minute touch-ups maintain it.
- Enamel-safe daily use formulas are specifically designed for more frequent application without the sensitivity spike.
In-office treatments use higher hydrogen peroxide concentrations and deliver faster results than any at-home kit, according to GQ’s dental expert guidance. At-home products work at lower concentrations over a longer period. That’s not a flaw — it’s what makes them safe for daily morning use. Choosing the right format for your schedule is covered in detail in this whitening treatment options guide.
How do you prevent and manage whitening sensitivity?
Sensitivity is the most common reason people quit a whitening routine early. Most of it is preventable.
Tooth sensitivity during whitening is usually temporary. Preemptive use of a sensitivity-specific toothpaste is preferable to stopping treatment entirely, unless you experience severe pain or visible gum inflammation. — GQ dental expert guidance
Prevention steps:
- Switch to a toothpaste containing potassium nitrate or nanohydroxyapatite at least 1–2 weeks before you start whitening. This reduces peak sensitivity and makes daily morning sessions more tolerable.
- Use the lowest effective concentration for your first course.
- Never overfill trays. Gel on gum tissue is the fastest route to irritation.
If sensitivity hits mid-course, work through it in steps:
- Apply desensitizing toothpaste directly to trays and wear for 10–15 minutes before or after your whitening session.
- Shorten session time by 25–50% for two to three days.
- Switch from daily to every-other-day sessions.
- Pause for 48 hours if discomfort persists.
Stop and see a dentist if you experience:
- Sharp, lingering pain that doesn’t resolve within a few hours
- Visible gum inflammation or white patches on soft tissue
- Any sign of enamel erosion (increased translucency at tooth edges)
- Sensitivity that worsens rather than stabilizes after the first week
Consult a dentist before starting if you have: active gum disease, crowns or veneers on front teeth, current pregnancy, or children under 18 who want to whiten. The ADA’s guidance on restorations and professional consultation applies here directly. For a deeper look at protecting enamel during your routine, the Getsmilefam guide on enamel protection during whitening is worth reading before you start.
What should you do after a morning whitening session?
The 48 hours after a session are when your results are most vulnerable. Teeth are temporarily more porous after whitening, which makes them faster to pick up new stains.
First 48 hours — the white diet:
- Avoid coffee, tea, red wine, tomato-based sauces, berries, and soy sauce.
- Stick to water, milk, white rice, chicken, fish, bananas, and plain yogurt.
- If you must have coffee, use a straw and rinse with water immediately after.
- Wait at least 30 minutes after removing trays or finishing a pen application before eating or drinking anything other than water.
Daily maintenance habits that extend results:
- Use a stain-minimizing whitening toothpaste twice daily.
- Rinse with water after colored drinks.
- Floss every night to prevent stain buildup between teeth.
- Use a straw for iced coffee, tea, and dark sodas.
Touch-up schedule: Once you’ve completed your initial course, a short monthly session keeps your shade stable. If you notice fading sooner, a single pen application or a 30-minute tray session is usually enough. Schedule a professional cleaning every six months — clean teeth respond better to whitening agents, and a hygienist removes calculus that at-home products can’t touch. More on maintaining white teeth long-term is available from Getsmilefam.
How should you store gels, pens, trays, and LED devices?
Product potency degrades faster than most people expect, especially in a warm bathroom.
Storage checklist:
- Keep whitening gels and pens away from direct sunlight and heat. A bathroom cabinet near a hot shower is not ideal.
- Refrigerate unopened gel syringes if you won’t use them within a few weeks. Once opened, store at room temperature and use within the manufacturer’s stated window.
- Never freeze whitening gel — it separates and loses effectiveness.
- Store trays in their case, not loose in a drawer where they can warp.
- Keep the Premium Travel Kit sealed between uses to prevent contamination.
Cleaning after each use:
- Rinse trays immediately after removal with cool water and a soft-bristled brush.
- Never use hot water on trays — it distorts the fit.
- Wipe LED mouthpieces with a damp cloth; never submerge the electronic components.
- Let everything air-dry before storing.
Signs a product has lost potency: gel that has turned yellow or brown, a pen that dispenses watery or discolored serum, or a formula with an off smell. Discard and replace rather than use degraded product — it won’t whiten effectively and may irritate tissue.
Is morning whitening actually effective? What the evidence says
Morning whitening works. The caveat is that it requires protecting enamel in the hours that follow.
Clinical research shows no strong advantage for morning versus evening whitening. What the evidence does support is that consistency and lifestyle fit drive better long-term outcomes than the time of day. If morning is when you’ll actually do it, morning is the right time.
The ADA and Johns Hopkins Medicine both note that at-home peroxide-based products are safe when used as directed, but caution against overuse and incorrect application. The key practical rules:
- Match concentration to your sensitivity level. Lower concentration used consistently outperforms high concentration used sporadically.
- Wear time matters more than product strength for most at-home users.
- Restorations don’t whiten. This isn’t a limitation of any specific product — it’s the chemistry. Peroxide acts on natural tooth structure only.
- Anchoring whitening to a fixed morning habit, like brushing or showering, produces better adherence than treating it as an optional add-on.
The Cochrane Review on home-based tooth whitening found that tray-based systems with carbamide or hydrogen peroxide produce measurable whitening compared to placebo, with sensitivity as the most common side effect. That’s the honest summary: it works, sensitivity is manageable, and the routine you’ll actually follow is the one that delivers results. For a full breakdown of safe ingredient profiles, the Getsmilefam guide on safe vs. harsh whitening covers the science without the marketing spin.
Key Takeaways
A consistent morning teeth whitening routine — brush and floss, apply product, complete the session, wait 30 minutes before eating — delivers visible results within two to three weeks when you follow manufacturer timing and protect enamel afterward.
| Point | Details |
|---|---|
| Pre-clean before applying | Brush and floss first so whitening agents reach enamel evenly and work more effectively. |
| Follow manufacturer timing | Wearing products longer than directed increases sensitivity without speeding up results. |
| Protect the 48-hour window | Avoid colored foods and drinks for 48 hours post-session; teeth are more porous and stain faster. |
| Prep for sensitivity | Start potassium nitrate or nanohydroxyapatite toothpaste 1–2 weeks before your first session. |
| Getsmilefam morning option | The Snow Serum™ Whitening Pen and Premium Travel Kit are designed for fast, enamel-safe morning application. |
The part nobody tells you about morning whitening
Most whitening guides focus on the product. The real variable is the 30 minutes after you finish.
Pairing a 30-minute tray session with a morning shower is genuinely the cleanest way to fit whitening into a busy schedule. The session runs while you’re already occupied, you’re not tempted to eat early, and by the time you’re dressed and ready, the wait window is nearly up. That single habit anchor removes the two biggest friction points: remembering to do it and resisting food.
The sensitivity piece is where people make the most avoidable mistake. Starting a whitening course without prepping with a desensitizing toothpaste is like running a race without warming up. Two weeks of potassium nitrate toothpaste before your first session makes the difference between a routine you stick with and one you abandon after three days. If you feel sharp sensitivity during a session, shorten the wear time first — don’t quit the routine entirely.
The general checklist in this guide adapts to any schedule. Morning, midday, or evening, the sequence is the same. What changes is the anchor habit you attach it to.
Getsmilefam’s morning-ready whitening option
Skipping the tray setup entirely is a legitimate morning strategy. The Snow Serum™ Whitening Pen from Getsmilefam takes under two minutes to apply: twist, brush 2–3 passes per tooth, let it dry for 60 seconds, and you’re done. No tray to fill, no timer to set, no gel to refrigerate.
The pen runs on Getsmilefam’s proprietary BLU Whitening Technology, an enamel-safe formula developed without harsh hydrogen peroxide, designed for sensitive gums and daily use. For travel or gym-bag storage, the Premium Travel Kit packages the pen with compact trays and a carry case that fits any toiletry bag. Both come with a satisfaction guarantee, and Getsmilefam publishes full ingredient and usage instructions on each product page.
Follow the manufacturer’s directions for session frequency and wear time. If you have crowns, veneers, or active gum issues, check with your dentist before starting. Ready to add it to your morning shelf? Pick up the Snow Serum™ Whitening Pen at getsmilefam.com/products/whiteningpen.
Useful sources
- American Dental Association — Whitening: The primary authority on safe whitening practices, restoration limitations, and when to consult a dentist.
- Johns Hopkins Medicine — Teeth Whitening: Clinical overview of at-home and in-office options, with ADA-aligned safety guidance.
- The Cochrane Library — Home-based tooth whitening review: Systematic review of randomized controlled trials on at-home bleaching products; the strongest evidence base available.
- Healthline — How to whiten teeth naturally at home: Adjunct stain-reduction habits and realistic expectations for non-peroxide methods.
- Getsmilefam — Snow Serum™ Whitening Pen: Product page for the morning-friendly pen featured in this guide.
This article is general information, not professional dental advice. Confirm current guidelines and your personal suitability with a licensed dentist before starting any whitening course.