

A rapid whitening pen is a portable, gel-dispensing tool that applies a peroxide-based or peroxide-free whitening formula directly to tooth enamel to remove surface stains in minutes. Rapid whitening pen correct usage is the single biggest factor separating people who see real results from those who experience sensitivity and frustration. Get the steps right, and you can brighten your smile at home without a dentist appointment. Get them wrong, and you risk gum irritation, uneven coverage, and wasted product. This guide covers every stage: preparation, application, post-care, and realistic expectations.
What tools and preparation steps are needed before applying a whitening pen?
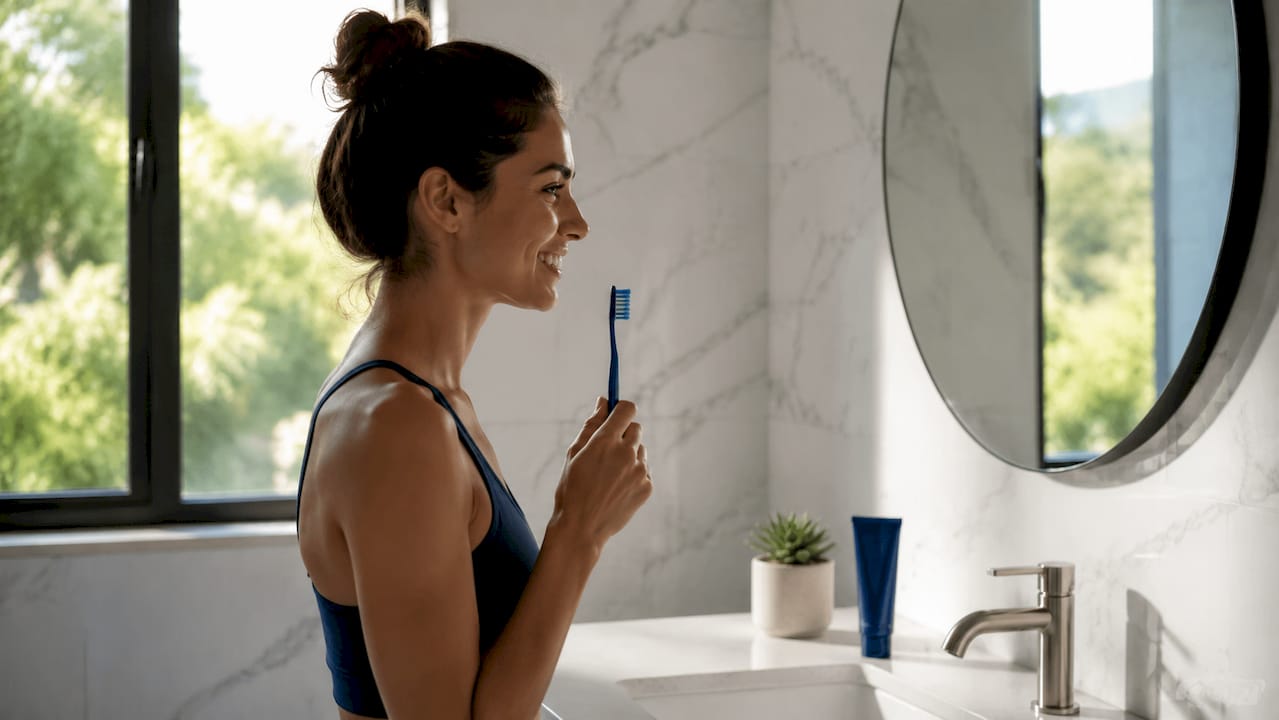
Preparation is not optional. It is the step that determines whether the whitening gel bonds to your enamel or slides off a film of plaque and saliva. Canada Dental Advisor recommends brushing and flossing before applying whitening pen gel to maximize contact and effectiveness. Skipping this step is the most common reason users report disappointing results after the first few days.
Here is what you need before you uncap the pen:
- Toothbrush and fluoride-free toothpaste. Brush for two minutes to clear food debris and surface plaque. If you are exploring fluoride-free options that are gentler on sensitive teeth during whitening cycles, several well-reviewed alternatives exist in 2026.
- Dental floss or a water flosser. Flossing removes debris from between teeth, which the pen tip cannot reach. Gel applied over trapped food simply will not work.
- Dry tissue or gauze. This is the step most people skip. Blotting your teeth dry with a tissue immediately before application removes the saliva layer that dilutes and displaces gel. Dry enamel holds the formula in place far longer.
- A well-lit mirror. Precision matters. You need to see exactly where the brush tip is landing, especially near the gumline.
Pro Tip: Wait at least 30 minutes after eating before you start your prep routine. Acidic foods temporarily soften enamel, and brushing right after can cause micro-abrasion. Give your saliva time to neutralize the pH first.
The order matters too. Brush, floss, rinse, then blot dry. Applying the pen immediately after rinsing leaves residual water on the surface. That thin water film is enough to reduce gel adhesion and cut your results short.
How to apply the gel with a rapid whitening pen correctly
Correct application technique is where most users go wrong, and the mistakes are surprisingly small. A slightly too-thick coat, a brush tip that grazes the gum, or skipping the drying time after application all reduce effectiveness and increase the chance of irritation.
Follow these steps in order for every session:
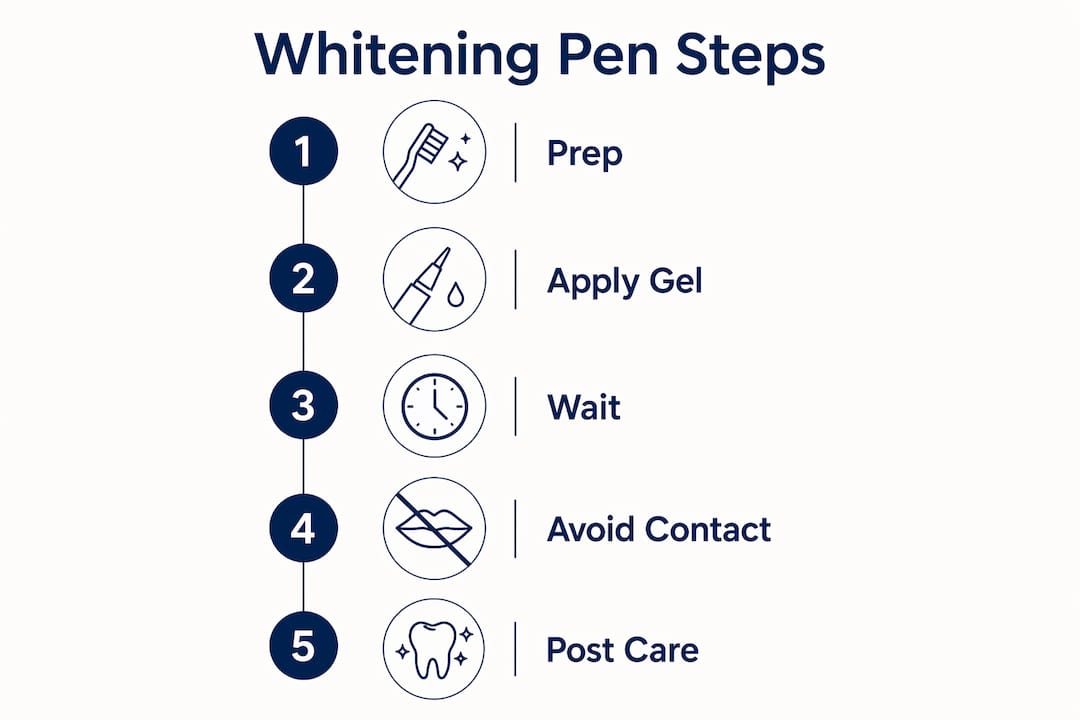
- Twist or click the pen to dispense gel. Most pens use a twist mechanism at the base. Turn slowly until a small bead of gel appears at the brush tip. One to two clicks is enough. Dispensing more does not accelerate results.
- Smile wide to expose your teeth fully. Pull your lips back so the enamel surface is clear of soft tissue. Some users prefer cheek retractors, which are inexpensive plastic tools that hold lips away from teeth hands-free.
- Apply a thin, even layer starting from the front teeth. Use the brush tip in short, horizontal strokes. Work from the center outward. Thicker coats of gel do not speed up results but increase irritation risks. One thin pass per tooth is the target.
- Keep the brush tip off your gums. The fine brush tip design allows targeted application, minimizing soft tissue contact. Angle the pen so the tip contacts only the flat enamel surface, not the gumline.
- Hold your smile open for 30 to 60 seconds after application. This lets the gel begin to set before your lips close over your teeth.
- Allow the gel to dry for 10 to 15 minutes. Do not eat, drink, or rinse during this window. The formula needs uninterrupted contact time with the enamel to work.
Here is how application time and coverage compare across common whitening formats:
| Method | Application time | Contact time | Precision level |
|---|---|---|---|
| Whitening pen | Under 2 minutes | 10 to 15 minutes | High (targeted) |
| Whitening strips | 5 to 10 minutes | 30 to 45 minutes | Medium (fixed shape) |
| Tray with gel | 10 to 15 minutes | 30 to 60 minutes | Low (full arch) |
| In-office treatment | Applied by dentist | 60 to 90 minutes | Very high |
Pro Tip: If gel touches your gum accidentally, wipe it off immediately with a dry cotton swab. Do not rinse your whole mouth. Spot-removing the gel from soft tissue prevents irritation without disrupting the gel on your teeth.
What are the best practices for post-application care?
What you do in the 30 minutes after applying the pen matters as much as the application itself. The gel continues working after it dries, and disrupting it early cuts the session short.
The core rules for post-application care:
- Avoid eating or drinking for 20 to 30 minutes. Eating or drinking immediately can dilute the gel and reduce whitening efficacy. Water is the least harmful option if you absolutely need to drink, but even water washes away active formula.
- Do not rinse immediately after the gel dries. Let the formula finish its contact cycle. If your product instructions specify a rinse, follow the timing on the label.
- Use the pen once or twice daily for 7 to 14 days. Overuse can cause enamel damage and increased sensitivity. More sessions per day is not more effective. It is more damaging.
- Manage sensitivity with desensitizing toothpaste. Brands like Sensodyne Pronamel or Colgate Sensitive are widely available and reduce the nerve response that causes post-whitening discomfort. Sensitivity can be managed using desensitizing toothpaste and avoiding over-application.
- Avoid staining foods and drinks during your whitening cycle. Coffee, red wine, and tomato-based sauces re-stain enamel while the pores are temporarily open after whitening. This is not permanent, but it does slow your visible progress.
“The most common mistake is treating more as better. One thin, precise application per session outperforms two heavy coats every time. Patience and consistency produce the results that impatience chases.”
Common errors that undermine results include applying gel to wet teeth, pressing the brush tip hard against the gum, and stopping the routine after two or three days because results feel slow. Visible improvement usually appears within a few days to a week, with slight brightness after day one and visible gains by days three to five. Stopping early means you never reach the maximum effect.
For a deeper look at managing discomfort during your whitening routine, Getsmilefam’s guide on avoiding teeth sensitivity covers the specific steps that make a real difference.
How does a whitening pen compare to other whitening methods?
Whitening pens occupy a specific and useful niche. They are not the most powerful whitening option available, and knowing that upfront saves a lot of disappointment.
Pens have lower peroxide concentration than in-office treatments, making them less powerful but far more convenient for touch-ups. They excel at removing surface stains from coffee, tea, and wine. They do not change the underlying color of crowns, veneers, or bonded restorations. If your staining is intrinsic (inside the tooth structure rather than on the surface), a pen will not address it.
| Whitening method | Best for | Typical results | Cost range |
|---|---|---|---|
| Whitening pen | Touch-ups, surface stains | 1 to 3 shades lighter | Low |
| Whitening strips | Moderate staining, full arch | 2 to 5 shades lighter | Low to medium |
| Custom tray with gel | Significant staining | 3 to 8 shades lighter | Medium |
| In-office treatment | Severe staining, fast results | 5 to 10 shades lighter | High |
The pen wins on portability and simplicity. You can carry it in a bag, apply it after lunch, and cap it without cleanup. Strips require a mirror and 30 minutes of stillness. Trays require custom fitting and refrigerated gel storage. For a detailed breakdown of how these formats stack up, Getsmilefam’s comparison of whitening pens vs. strips and their review of pens vs. clinic treatments give a clear picture of where each method fits.
If you have tried a pen for two full weeks with consistent correct usage and are not satisfied with the shade change, that is the signal to consult a dentist about a stronger option. Pens are a starting point and a maintenance tool, not a replacement for professional-grade whitening when significant shade change is the goal.
Key takeaways
Rapid whitening pen correct usage requires clean, dry teeth before application, a thin and precise gel layer, and consistent daily use for 7 to 14 days to produce visible, safe results.
| Point | Details |
|---|---|
| Prep is non-negotiable | Brush, floss, and blot teeth dry before every application to maximize gel adhesion. |
| Thin layers outperform thick ones | One even coat per session reduces irritation without sacrificing whitening effectiveness. |
| Post-application window matters | Avoid food and drink for 20 to 30 minutes after applying to protect gel contact time. |
| Consistency drives results | Visible brightness typically appears by days three to five with daily correct use. |
| Pens have clear limits | They remove surface stains effectively but cannot change the color of dental restorations. |
Why “less is more” is the hardest lesson in whitening pen use
I have seen the same pattern repeat itself constantly. Someone buys a whitening pen, applies a thick coat because they want faster results, skips the drying step because it feels unnecessary, and then complains about sensitivity or uneven whitening after three days. The pen did not fail them. The technique did.
The counterintuitive truth about whitening pens is that restraint produces better outcomes than aggression. A thin, dry layer of gel on clean enamel outperforms a heavy, wet application every single time. The chemistry is straightforward: the active ingredient needs direct, uninterrupted contact with enamel. More gel does not mean more contact. It means more overflow onto gums and more dilution from saliva.
I also think people underestimate how much the prep step changes the result. Blotting your teeth dry with a tissue before applying feels almost too simple to matter. It matters enormously. That one step alone can be the difference between gel that stays in place for 12 minutes and gel that slides off in four.
My honest advice: treat the first three days as a calibration period. Use less gel than you think you need. Watch where the brush tip lands. Adjust your technique before you judge the product. Most people who report poor results from whitening pens were using them correctly by day five, but they had already given up by day three.
If you have sensitive teeth, start with one application per day rather than two. Give your enamel time to adjust. The safe whitening practices that protect your enamel long-term are the same ones that produce the best visible results. That is not a coincidence.
— Lenney
Try the Snow Serum™ Whitening Pen from Getsmilefam
If you want a whitening pen built around the principles in this guide, Getsmilefam’s Snow Serum™ Whitening Pen is worth a close look. It uses BLU Whitening Technology developed in Singapore, with a formula that is free of hydrogen peroxide and designed for sensitive gums. The fine brush tip delivers the precise, controlled application this guide recommends, and the enamel-safe ingredients mean you are not trading a brighter smile for long-term damage.

Getsmilefam backs the Snow Serum™ with a satisfaction guarantee and a one-year warranty, which removes the risk from trying it. For users who want everything in one package, the Premium Travel Kit pairs the pen with complementary oral care essentials for on-the-go whitening.
FAQ
How often should I use a rapid whitening pen?
Use a whitening pen once or twice daily for 7 to 14 days. Overuse increases the risk of enamel damage and sensitivity without improving results.
Why do my teeth feel sensitive after using a whitening pen?
Mild, temporary sensitivity is a common side effect of whitening gel contact with enamel. Using a desensitizing toothpaste like Sensodyne Pronamel and reducing application frequency usually resolves it within a day or two.
How long does it take to see results from a whitening pen?
Slight brightness appears after day one, with visible gains typically by days three to five and maximum effect after about a week of consistent use.
Can a whitening pen remove all types of stains?
Whitening pens are effective on surface stains from coffee, tea, and wine. They do not affect intrinsic stains inside the tooth structure or change the color of crowns, veneers, or bonded restorations.
Do I need to rinse after applying a whitening pen?
Do not rinse immediately after application. Allow the gel to dry and complete its contact time, typically 10 to 15 minutes, before rinsing or eating anything.