
You don’t need a dental appointment or a tray full of harsh chemicals to get a noticeably brighter smile. When you whiten teeth at home naturally, you’re working with ingredients that target the surface stains caused by coffee, tea, and food buildup, which are the most common culprits behind a dull, yellowed appearance. The methods in this guide are practical, evidence-backed, and designed to protect your enamel while delivering real results. You’ll learn what actually works, what to skip, and how to build a routine that keeps your smile looking its best.
Table of Contents
- Key takeaways
- What you need to whiten teeth at home naturally
- Step-by-step natural whitening methods
- Diet tweaks and remedies to approach with caution
- Avoiding mistakes and managing sensitivity
- Tracking your progress realistically
- My honest take on natural whitening
- Upgrade your results with Getsmilefam
- FAQ
Key takeaways
| Point | Details |
|---|---|
| Surface stains respond best | Natural methods remove extrinsic stains effectively but cannot fix deep, intrinsic discoloration. |
| Baking soda gets results | Used 2 to 3 times per week, baking soda paste delivers visible improvement in 10 to 14 days. |
| Oil pulling takes patience | Daily 15-minute coconut oil sessions show noticeable whitening effects after 4 to 6 weeks. |
| Enamel safety is non-negotiable | Overusing abrasive or acidic ingredients like lemon juice can cause permanent enamel damage. |
| Track progress with photos | Take consistent photos in the same lighting weekly so you can actually see your improvement. |
What you need to whiten teeth at home naturally
Before you mix anything or start swishing, gather the right materials. Using the correct ingredients at safe concentrations makes the difference between gradual brightening and unintentional enamel damage.
Core ingredients
| Ingredient | Purpose | Safe concentration or frequency |
|---|---|---|
| Baking soda | Mild abrasive, removes surface stains | 1 teaspoon in a paste; 2 to 3 times per week |
| 3% hydrogen peroxide | Mild bleaching rinse | Diluted 1:1 with water; 1 to 2 times per week |
| Coconut oil | Plaque reduction via oil pulling | 1 tablespoon, pure, unrefined; daily |
| Soft-bristle toothbrush | Apply paste gently | Replace every 3 months |
| Mild fluoride toothpaste | Baseline hygiene between whitening sessions | Twice daily |
The items on this list are widely available and inexpensive. What matters is using them correctly.
Here are the things you should keep out of your routine, or at least approach with serious caution:
- Lemon juice: The citric acid can dissolve enamel with repeated use. If you try it, rinse immediately and never brush right after.
- Activated charcoal: Marketed widely but highly abrasive on enamel. The research does not support its safety or effectiveness for whitening.
- Apple cider vinegar: The acetic acid actively dissolves enamel. Any benefit is far outweighed by the erosion risk.
- High-concentration hydrogen peroxide (above 3%): Higher concentrations increase gum sensitivity and enamel damage without proportionally better results for home use.
Pro Tip: Always wait at least 30 minutes after eating before any whitening treatment. Your enamel is temporarily softened after meals, especially acidic ones, and brushing or applying abrasives during this window increases damage risk.
Step-by-step natural whitening methods
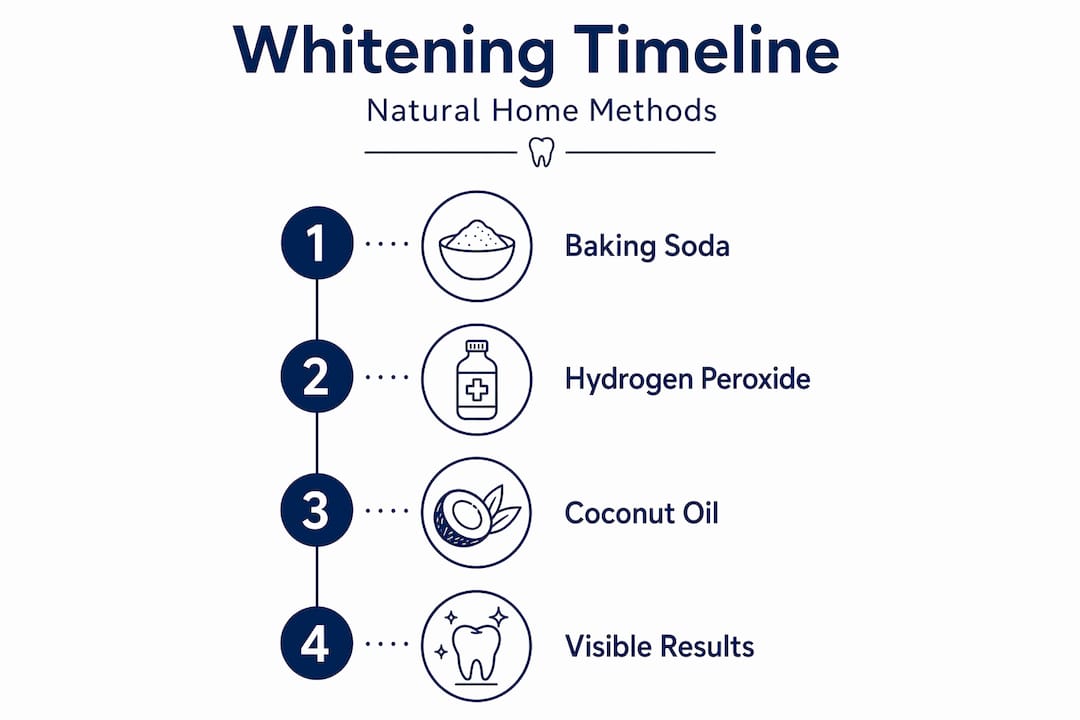
These are the three methods with the strongest evidence behind them for DIY teeth whitening. Each one targets stains differently, so using them in rotation gives you better overall results than relying on one alone.
Baking soda paste
Baking soda removes surface stains 0.7 to 2.9 times more effectively than standard toothpaste without baking soda, and most people see visible improvement within 10 to 14 days of consistent use.
- Mix 1 teaspoon of baking soda with just enough water to form a thick paste. The paste should hold its shape and not drip.
- Apply the paste directly to your teeth using a soft-bristle toothbrush.
- Brush gently in small circular motions for 2 minutes. Light pressure only.
- Rinse thoroughly with water and follow with your regular fluoride toothpaste if you want added protection.
- Repeat no more than 2 to 3 times per week.
The key word there is gently. Aggressive brushing with baking soda can roughen the enamel surface over time and actually make teeth look duller, not brighter.
Hydrogen peroxide rinse
A diluted 3% hydrogen peroxide rinse used once or twice a week is one of the most straightforward natural whitening methods available without a prescription.
- Pour 1 tablespoon of 3% hydrogen peroxide (the kind from any drugstore) into a small cup.
- Add 1 tablespoon of water to bring it to a 1.5% working concentration.
- Swish the solution around your mouth for 30 to 60 seconds. Do not swallow.
- Spit and rinse well with plain water.
- Use no more than twice a week to minimize gum sensitivity.
Sensitivity is directly tied to how long the peroxide stays in contact with your teeth and gums. Shorter swishing time and lower concentration help you keep that under control. You can find more guidance on managing whitening sensitivity if you notice any discomfort after the first few sessions.
Oil pulling with coconut oil
Oil pulling is the most gradual of these three methods, but the oral health benefits go well beyond whitening. Daily oil pulling reduces plaque by 52% over 30 days and decreases gingivitis by 44%, with noticeable whitening effects appearing after 4 to 6 weeks. Less plaque means less yellowing, and that adds up.
- Take 1 tablespoon of unrefined coconut oil into your mouth. Let it melt for a few seconds if it’s solid.
- Swish it gently between and around your teeth for 10 to 20 minutes.
- Spit the oil into a trash can, not your sink. It can solidify and clog pipes over time.
- Rinse your mouth with warm water, then brush normally.
- Do this first thing in the morning, before eating or drinking anything.
Pro Tip: Start with 5 minutes if 15 to 20 feels uncomfortable at first. Build up gradually. The whitening effect is cumulative, so consistency matters far more than duration in any single session.
Diet tweaks and remedies to approach with caution

What you eat plays a bigger role in tooth color than most people realize. You can do all the right whitening routines and still fight a losing battle if your diet works against you.
Crunchy fruits and vegetables like apples, celery, and carrots act as natural scrubbers. Their texture helps remove loose surface debris as you chew, and the increased saliva production they trigger helps neutralize acids that cause staining. They are not a whitening treatment on their own, but they make a real difference as a daily habit.
Strawberries contain malic acid, which some people use as a natural stain remover by mashing them into a paste and applying it briefly to teeth. The effect is mild. More importantly, the fructose and acid in strawberries mean you should rinse thoroughly after use and keep contact time short.
Dairy products like cheese and milk contain casein and calcium, which help remineralize enamel and can buffer acids in your mouth. They do not whiten teeth directly, but they support the enamel health that keeps your teeth looking good over time.
Now for the methods that get a lot of attention but deserve real skepticism:
- Lemon juice: The idea of how to lighten teeth naturally with lemon juice is popular online, but the citric acid risk is serious. Even diluted use over weeks can visibly thin enamel.
- Apple cider vinegar: Acetic acid dissolves enamel on contact. If you use it at all, it must be heavily diluted, kept to once a week at most, and followed immediately by thorough water rinsing.
- Banana peel: Frequently shared on social media, but the evidence is thin. Banana peel whitening shows mild and gradual effects at best, with no strong proof of meaningful whitening.
- Activated charcoal: No clinical consensus supports its safety or effectiveness. Its abrasive particles are a concern for long-term enamel health.
“Moderation is the one rule that applies to every single natural whitening method. Even safe ingredients become harmful when used daily or in excess. Protect your enamel first, and the whitening will follow.”
Avoiding mistakes and managing sensitivity
The biggest mistake people make with DIY teeth whitening remedies is overcommitting once they see early results. You get a little brighter in two weeks and start using baking soda every day. That’s when the damage starts.
Pro Tip: Set a weekly schedule for your whitening routine and write it down. Treat it like a medication with dosing limits, because that’s essentially what it is for your enamel.
Here are the most common mistakes to avoid:
- Using baking soda daily: Even though the abrasion is mild, daily baking soda use can roughen enamel and cause lasting sensitivity. Twice a week is the ceiling.
- Skipping regular brushing and flossing: Brushing twice daily and flossing once is the foundation that natural whitening builds on. Without it, stains return faster.
- Applying anything to dry teeth: Wet your teeth before applying any paste or rinse. Dry enamel is more vulnerable to abrasion and sensitivity.
- Expecting results in a week: Natural methods work gradually. If you don’t see improvement in three to four weeks, re-examine your technique before increasing frequency.
Intrinsic stains, the ones inside the tooth caused by antibiotics, trauma, or fluorosis, do not respond to any natural whitening method. If your teeth are heavily yellowed from within, a dentist is the right call. Natural methods are for surface stain removal and maintenance, not structural color changes.
Tracking your progress realistically
Natural whitening methods typically deliver visible improvement of 1 to 3 shades, compared to 6 to 8 shades from professional bleaching. That gap matters for setting honest expectations.
| Method | Timeline for first visible results | Expected shade improvement |
|---|---|---|
| Baking soda paste | 10 to 14 days | 1 to 2 shades |
| Hydrogen peroxide rinse | 2 to 4 weeks | 1 to 2 shades |
| Oil pulling | 4 to 6 weeks | 1 shade |
| Diet and lifestyle changes | 4 to 8 weeks (cumulative) | Subtle, maintenance-level |
The best way to track your progress is with photos. Take a close-up in natural light every Sunday with the same background and the same expression. Shade differences look invisible day-to-day but become clear when you compare week one to week six side by side.
You can also find shade comparison cards online or at pharmacies. They are the same style dentists use, and they give you a more objective measurement than guessing. One honest look at your starting shade and your six-week shade tells you more than any mirror check in between.
My honest take on natural whitening
I’ve followed the natural teeth whitening conversation closely for years, and the pattern I see most often is frustration caused by unrealistic expectations. People try oil pulling for a week, see nothing, and declare it a scam. Or they use baking soda every day for a month, their teeth feel sensitive and rough, and they blame the method instead of the overuse.
My experience is that the best home whitening techniques are the gentle ones used consistently, not the aggressive ones used obsessively. The biggest wins I’ve seen come from people who combine daily oil pulling with twice-weekly baking soda, keep their diet in check, and just stay patient. It’s not dramatic. It doesn’t feel like much week to week. But six weeks in, those photos tell a different story.
What I genuinely caution against is the viral stuff. Lemon juice, charcoal, apple cider vinegar applied straight. These spread because they sound natural and strong, but “natural” does not automatically mean safe for your enamel. Enamel doesn’t grow back. That’s the one fact that should inform every decision you make in a natural whitening routine.
If you want faster results, pair your natural routine with a well-formulated product designed for enamel safety. But start with the basics, do them correctly, and give them real time to work.
— Lenney
Upgrade your results with Getsmilefam
If your natural routine is giving you a solid foundation but you want a faster visible boost, Getsmilefam’s formulas were built to fill exactly that gap.

The BLU Whitening Toothpaste was designed for daily use, with lab-approved ingredients that remove surface stains gently without compromising enamel. It fits directly into the routine you’re already building, replacing your standard toothpaste between natural whitening sessions. For targeted touch-ups, the Snow Serum™ Whitening Pen lets you apply whitening precisely where you need it, with no harsh chemicals and no sensitivity. Both products use Getsmilefam’s proprietary BLU Whitening Technology, developed in Singapore and formulated to be safe for sensitive gums. If you’re ready for more noticeable improvement, the complete whitening kit brings it all together.
FAQ
What are the safest ways to whiten teeth at home naturally?
Baking soda paste, diluted hydrogen peroxide rinse, and oil pulling with coconut oil are the three methods with the strongest safety and evidence profiles for natural whitening at home. Used at the right frequencies and concentrations, they remove surface stains without damaging enamel.
How long does it take to see results from natural whitening?
Baking soda typically shows results in 10 to 14 days, hydrogen peroxide rinse in 2 to 4 weeks, and oil pulling in 4 to 6 weeks. Natural methods deliver 1 to 3 shade improvements rather than the dramatic results from professional treatments.
Is teeth whitening with baking soda safe for everyday use?
No. Baking soda should be used no more than 2 to 3 times per week. Daily use can roughen enamel over time, cause sensitivity, and actually worsen the appearance of your teeth.
Does oil pulling actually whiten teeth?
Oil pulling reduces plaque, which is a key contributor to tooth yellowing. Daily sessions of 10 to 20 minutes can reduce plaque by 52% over 30 days, with gradual whitening effects visible after 4 to 6 weeks.
Should you whiten teeth with lemon juice?
Lemon juice is not recommended as a regular whitening method. The citric acid can erode enamel with repeated use, and the risk of permanent damage significantly outweighs the mild brightening effect it may provide.